Today, you have scheduled to clean up the attic and it is with the most reluctance that you are commencing this job. Opening the hatch and climbing up the stairs, you encounter some old stuff that you need to get rid of. You take plastic bag and put it in there. You dig a little deeper into the junk that you’ve collected over the years … and all of the sudden … shining on your eyelids from out of nowhere … there you see your old DOS PC ! Your precious … Gollum (choking cough) Gollum. Your brain starts to process images that are going back and forward which makes you remember all of those fun moments you’ve had with that old piece of metal. It has been more than 20 years, since it was running those good old games. You take it downstairs and want to turn it on immediately to see what’s still on the hard drive. First things first, you bring the vacuum cleaner out of the closet and start to vacuum all the dust that it has been collecting … cough … and after a minute or 3, everything is shiny again. This beast is ready to begin its second life, its resurrection, time to be booted up again. With the most excitement you push the power button and look at the screen … yes … you see the BIOS info screen; booting DOS … whoohooo ….
beep beep ….
“A disk read error occurred, Press Ctrl-Alt-Del to restart” 🙁
I wanted to do this littlle intro to show that this is a familiar situation for hundreds of DOS freaks out there. Well, i have a solution for replacing bad hard disks of old PC’s. The coolest thing about this is that it’s a combination of new technology with vintage technology.
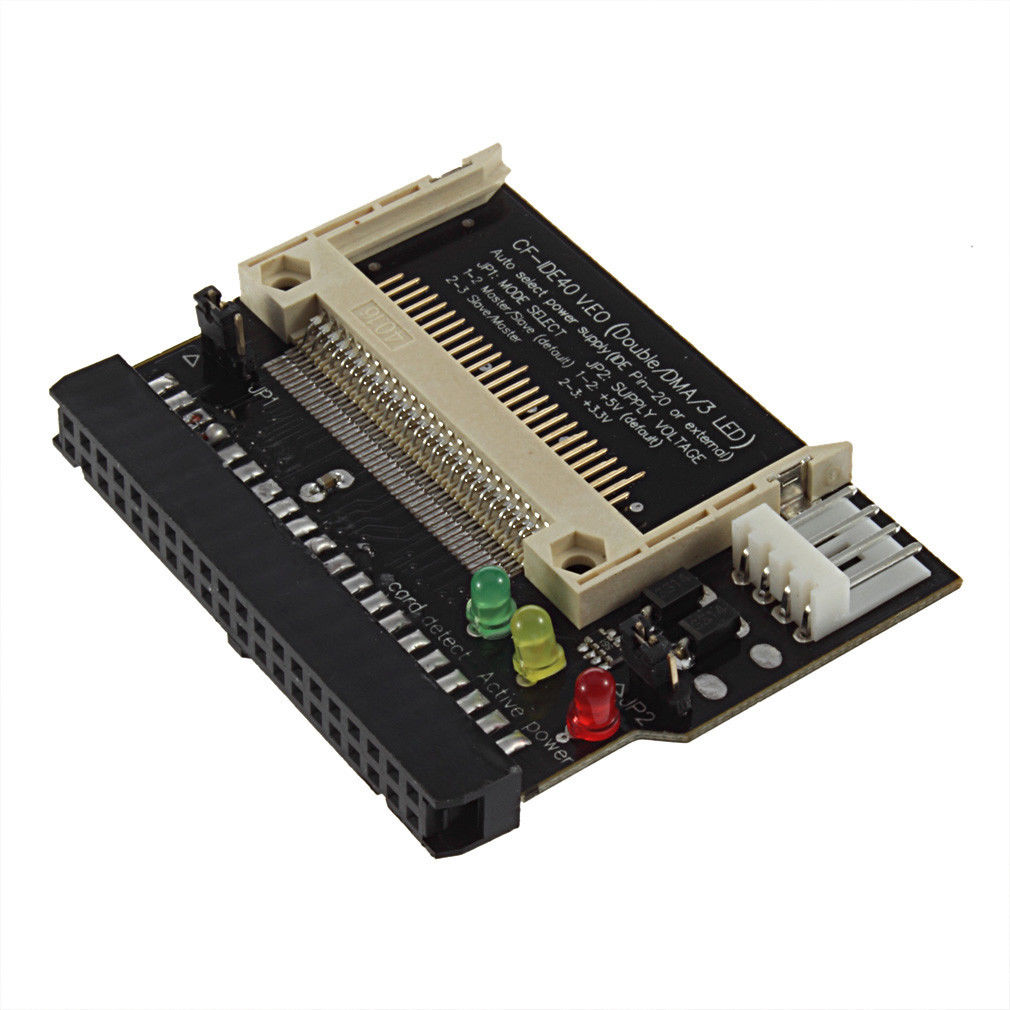
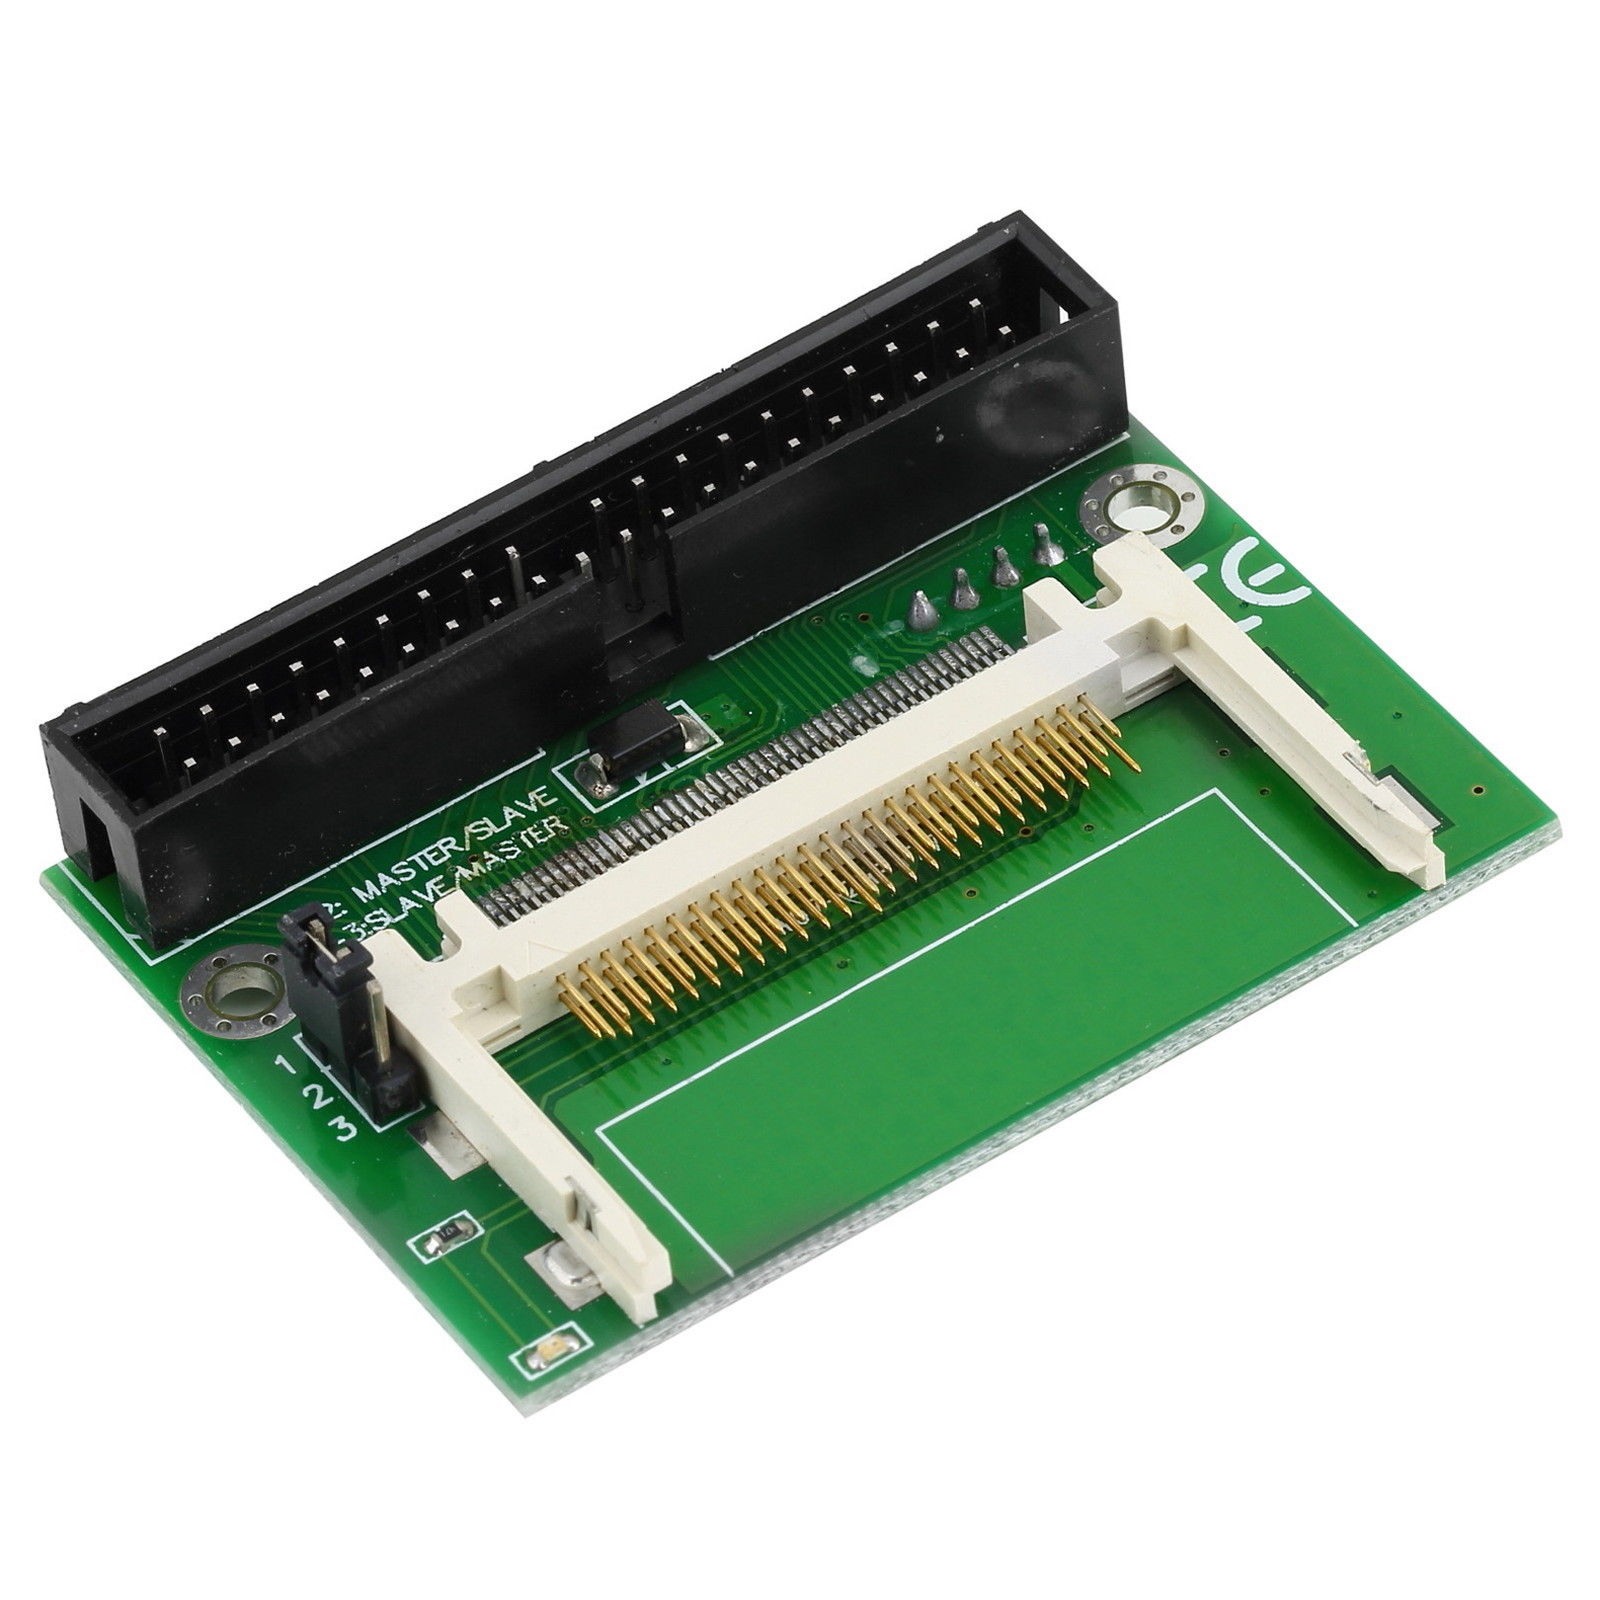
There is this little adapter card that is meant to be some kind of bridge between the IDE connector on the old motherboard and a compact flash disk which fits on it directly. Brilliant piece of techie thing if you ask me 😉 Directly i see some advantages opposed to the IDE drive :
- No noise
- No heat
- No bad sectors
- Fast
- Easy to put in a modern PC to copy things over
- Cheaper than the price of 1 beer (only $1.33 on eBay)
There are 3 types :
- Compact Flash to female IDE
- Compact Flash to male IDE
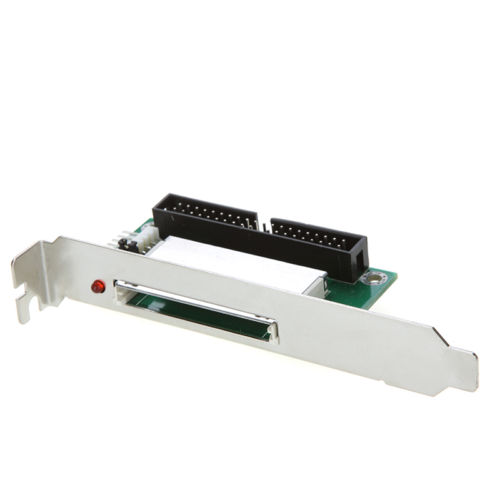
- Compact Flash to male IDE (but installed as it would have been an addon card, meaning you can insert the CF from outside your PC case.)
Click on this pre-search eBay link to have a list of different CF to IDE Adapter Cards : http://www.ebay.com/sch/i.html?_trksid=p2047675.m570.l1313.TR0.TRC0.X40-pin+IDE+Connector+CF+to+IDE+Compact+Flash+Card+Adapter&_nkw=40-pin+IDE+Connector+CF+to+IDE+Compact+Flash+Card+Adapter&_sacat=0&_from=R40
It’s becoming a tradition that i end this post with a video 😎
UPDATE (11/13/2013)
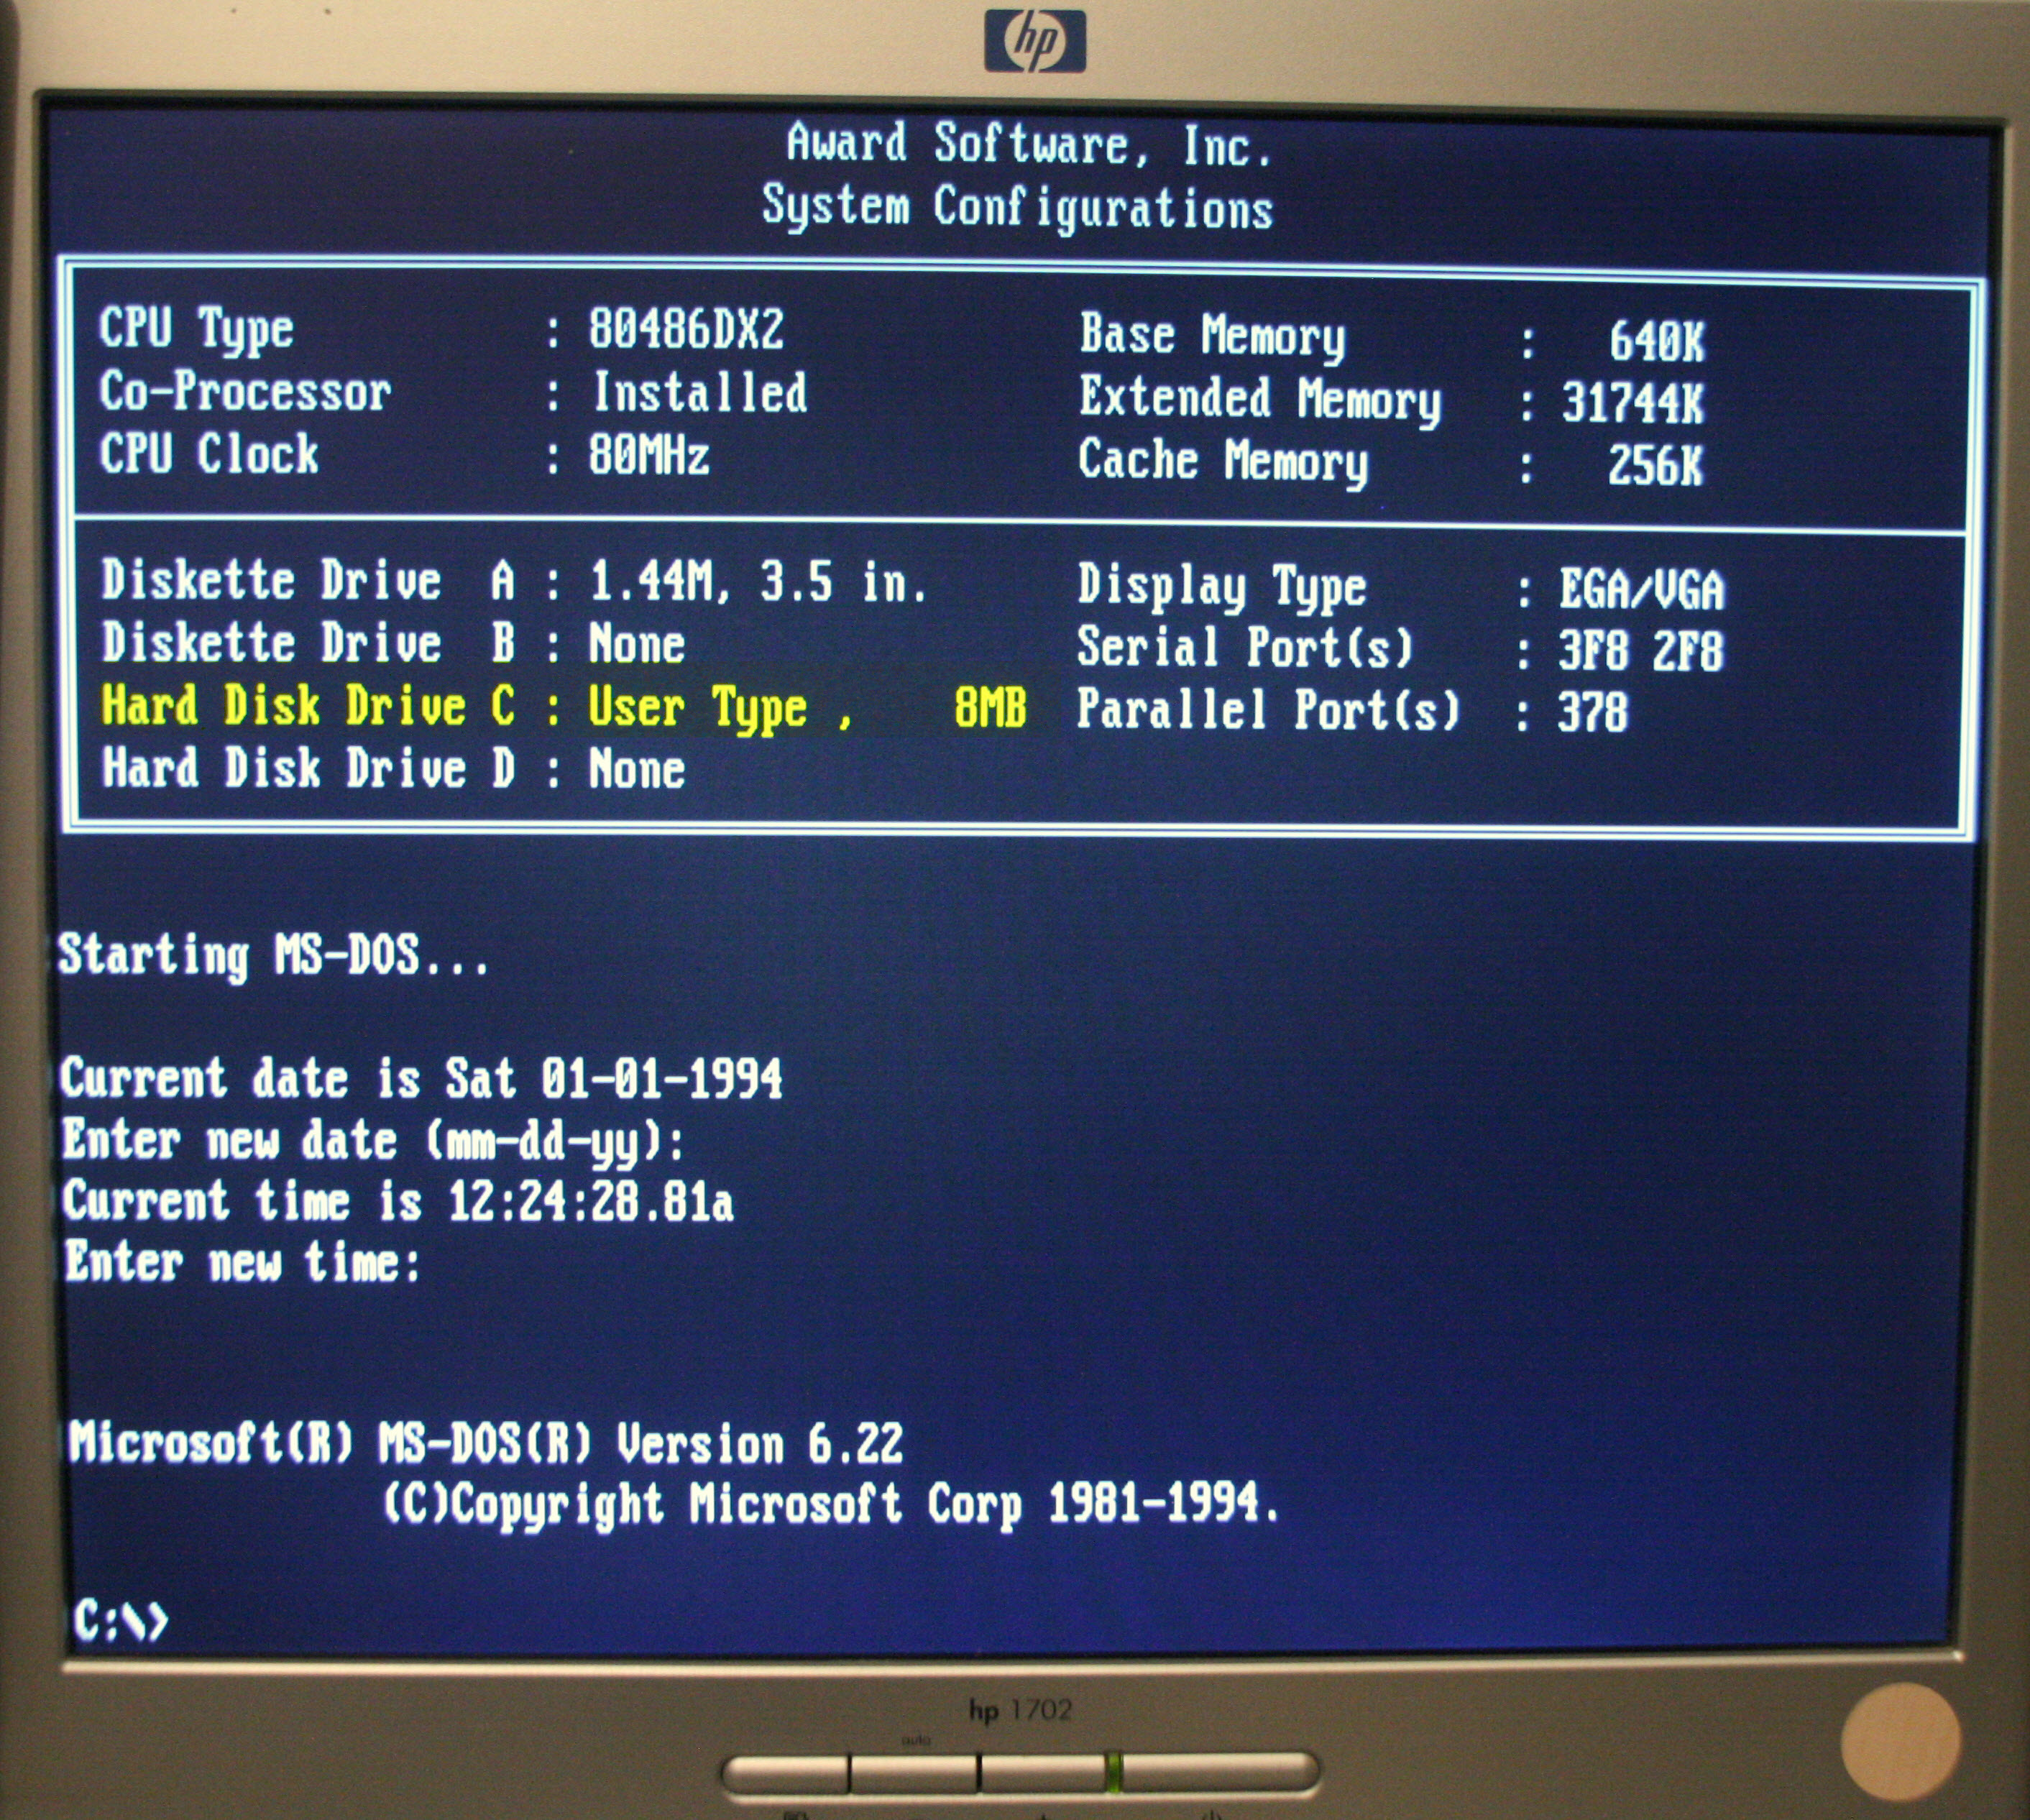
I had an interesting question about this post from Paul (See the comments) where he asks : “And what about if you can’t select the AUTO option in the BIOS ?”. It intrigues me, so i had some time tonight to do some tests. I have my 486 DX2-80 which doesn’t support the AUTO option in the BIOS, so i had a good example to try something out.
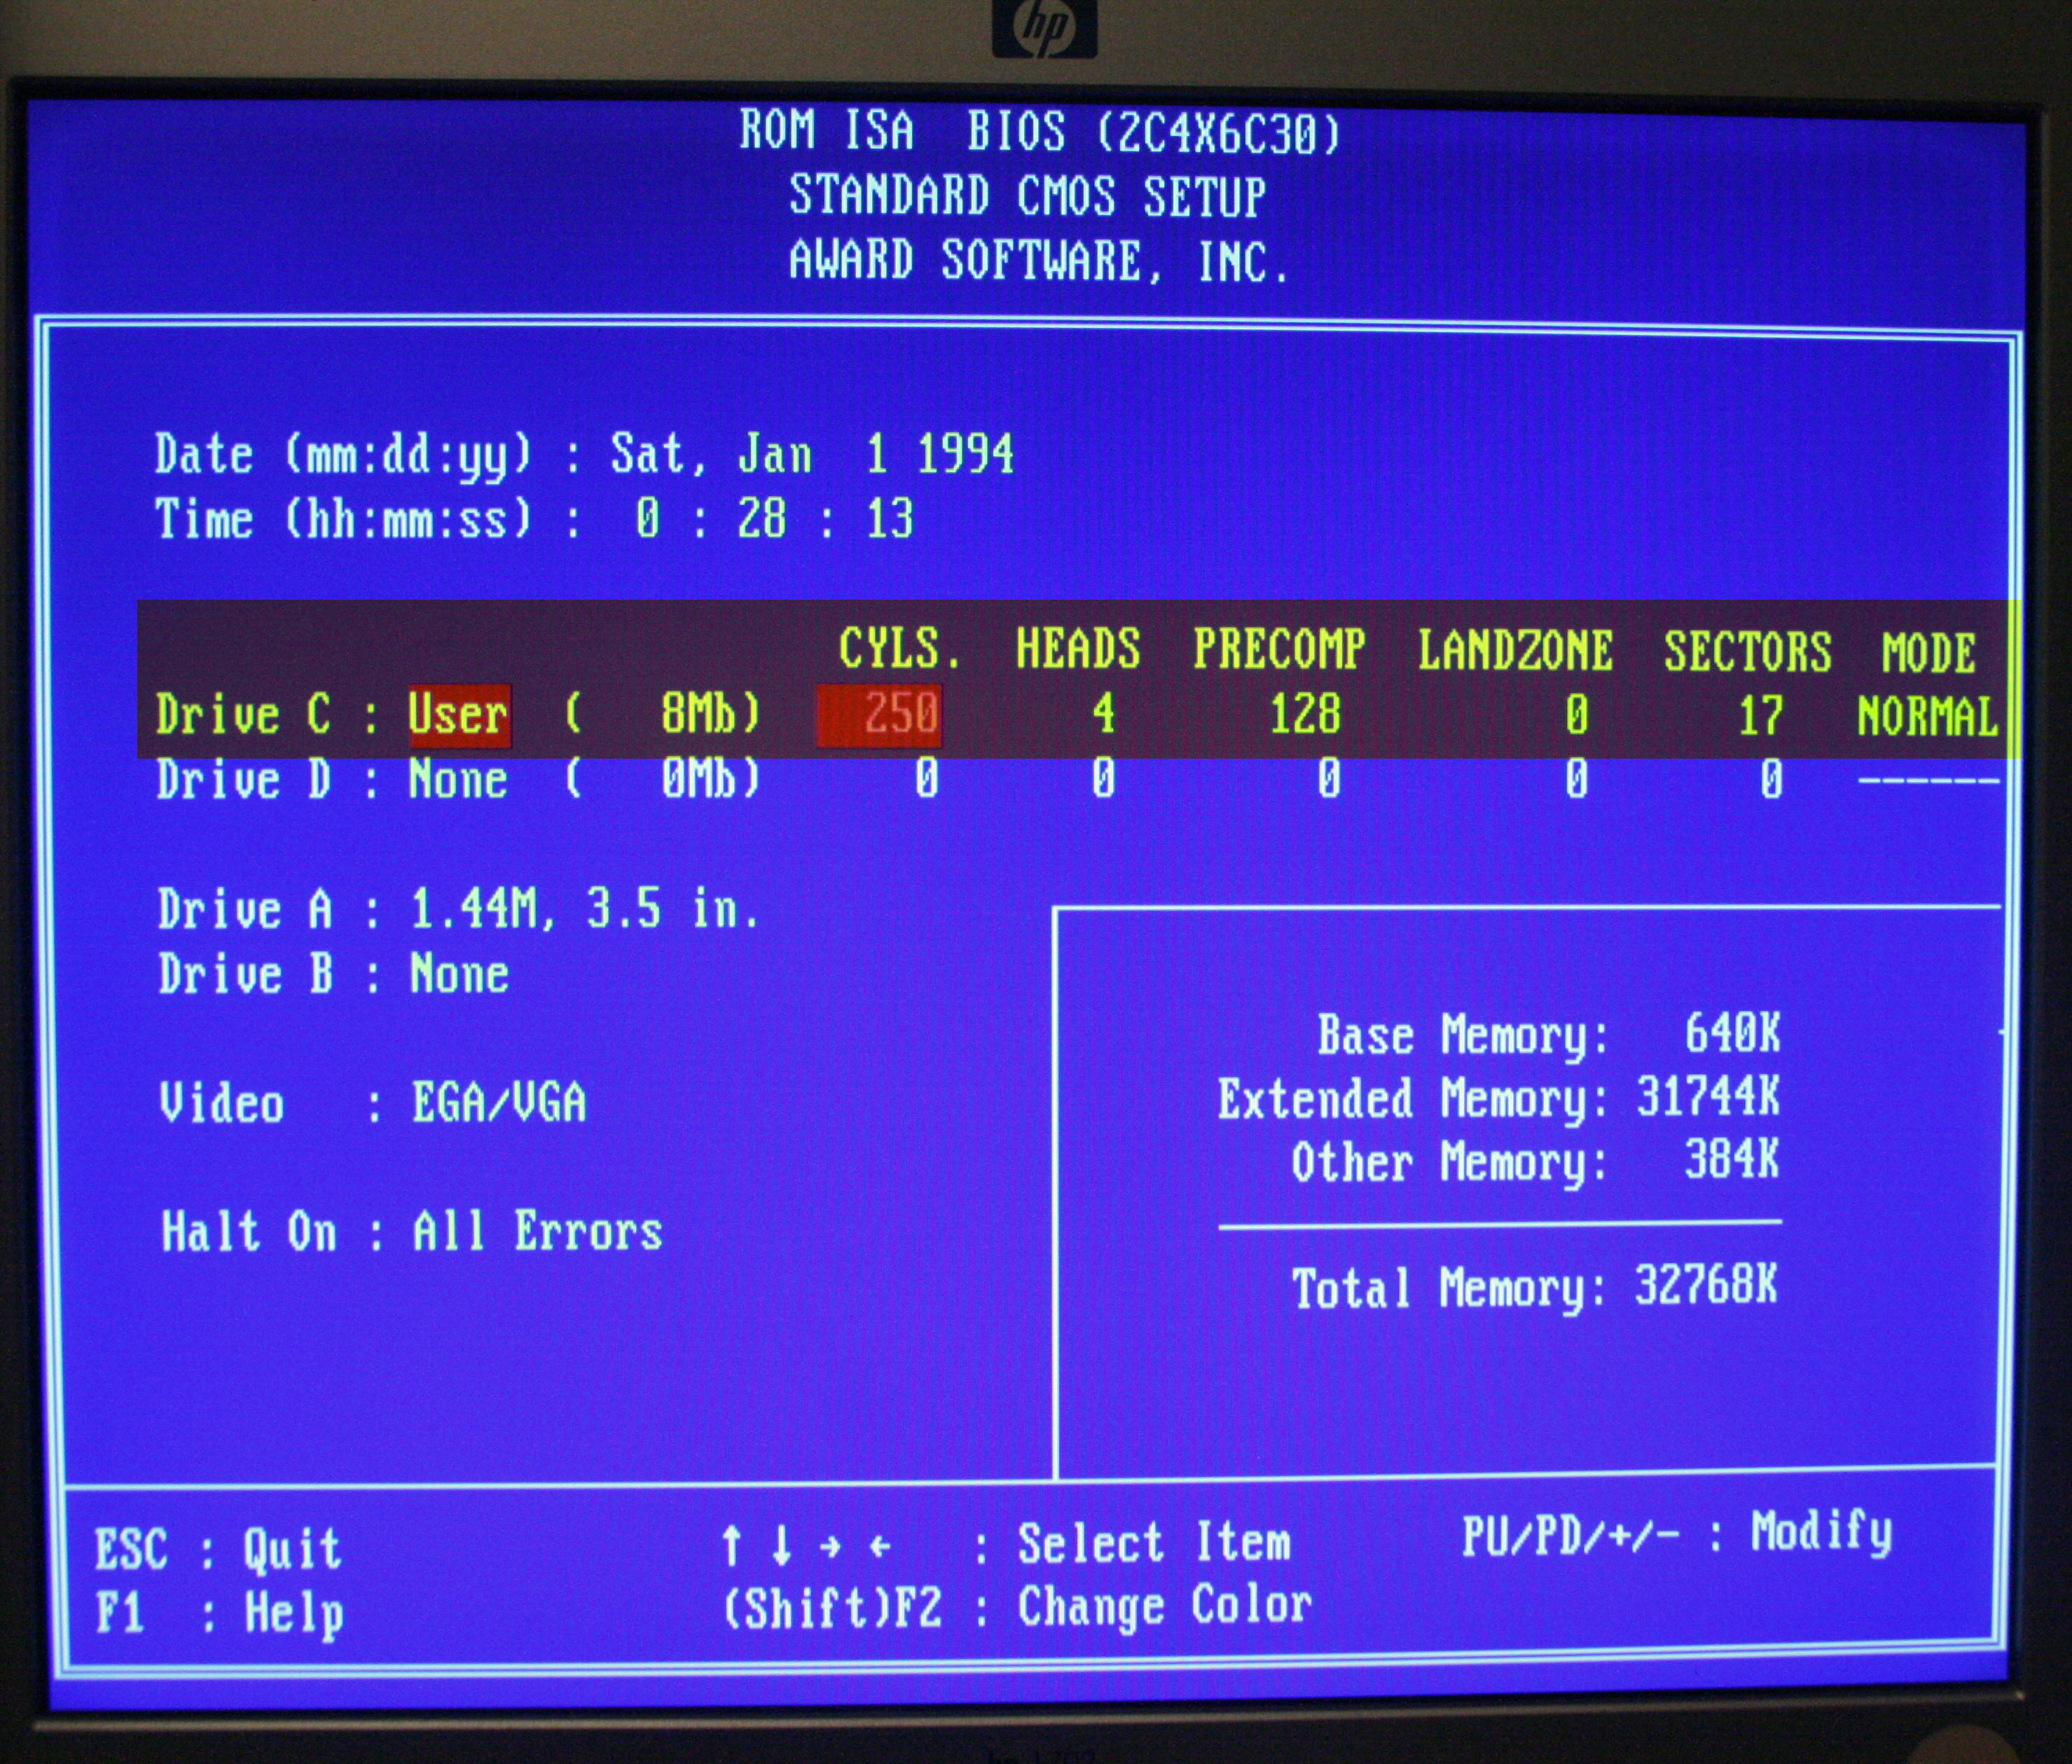
Basically what i try to do is to trick the BIOS to believe there is a hard disk present of a particular size. I tested it with a CF card of 8Mb 😉 In the BIOS, you can also choose the USER option, which means you can set a bunch of parameters yourself. Some of these parameters involve : #Cylinders, #Heads, #Sectors, … The trick is to fill in a combination of all the available parameters until it matches the size of the CF. Chech the following screenshot of my testcase.
When that is done, i tried to make it a bootable drive. I booted with a bootable floppy (DOS 6.22) and deleted and re-created the partition on the CF with FDISK. After the reboot, i formatted the C-drive so it is ready to be used for installation. Then i simply did a SYS C:\ so it has the mimimal DOS system files on it. When putting all the floppies out of the drives and after rebooting the machine, this was the end result :
I hope this also works for whoever reads this. You can always let me know in the comments section.
– Vulturius
