One of the most important goals when playing retro PC games is that I like to run it on the hardware that existed the period the games were released. I not only like to play the games, but I grew up with the fact that the hardware could be upgraded, tweaked, changed… to have that little bit more speed to play that one game that is just a bit too slow. I am not afraid to pick up the screwdriver, open the case and look what is under the hood. I think every diehard DOS gamer can recognize him/herself in doing that. If it wasn’t to expand your internal memory with a new memory module of 4Mb, it may have been to add a new soundcard that you just bought from the computer store, or even you knew how to change the jumper on the motherboard to reset the BIOS. I consider this part of retro gaming equally fun as playing the games themselves. This is why I write this blog to introduce to you one of my gaming rigs.
The main purpose of this rig is to be able to :
- play all of the old Sierra games (Space Quest, King’s Quest, Quest For Glory, Larry Suit Larry, Police Quest, …)
- play all Lucas Arts adventures (Day Of The Tentacle, Sam ‘n Max, Full Throttle, Monkey Island, …)
- play other adventure games of other publishers like Blue Force, Lost In Time, Ween, Inca, …
One other big passion of mine when playing games is the music soundtrack. I want to be able to play the music as it was meant to be by the programming team. There is nothing more pleasant to experience and that is the background music playing on the best possible soundcard that produces the coolest sounds. Believe me that there is a variety of soundcards available for the PC throughout the years. PC Soundcards is a history of its own.
Especially for this post I have stripped my 486DX80 and put it back together again 😉
This to show to you how it is made of and how easy it is to build one yourself. If I could get one of you into doing it yourself, then my mission is accomplished.
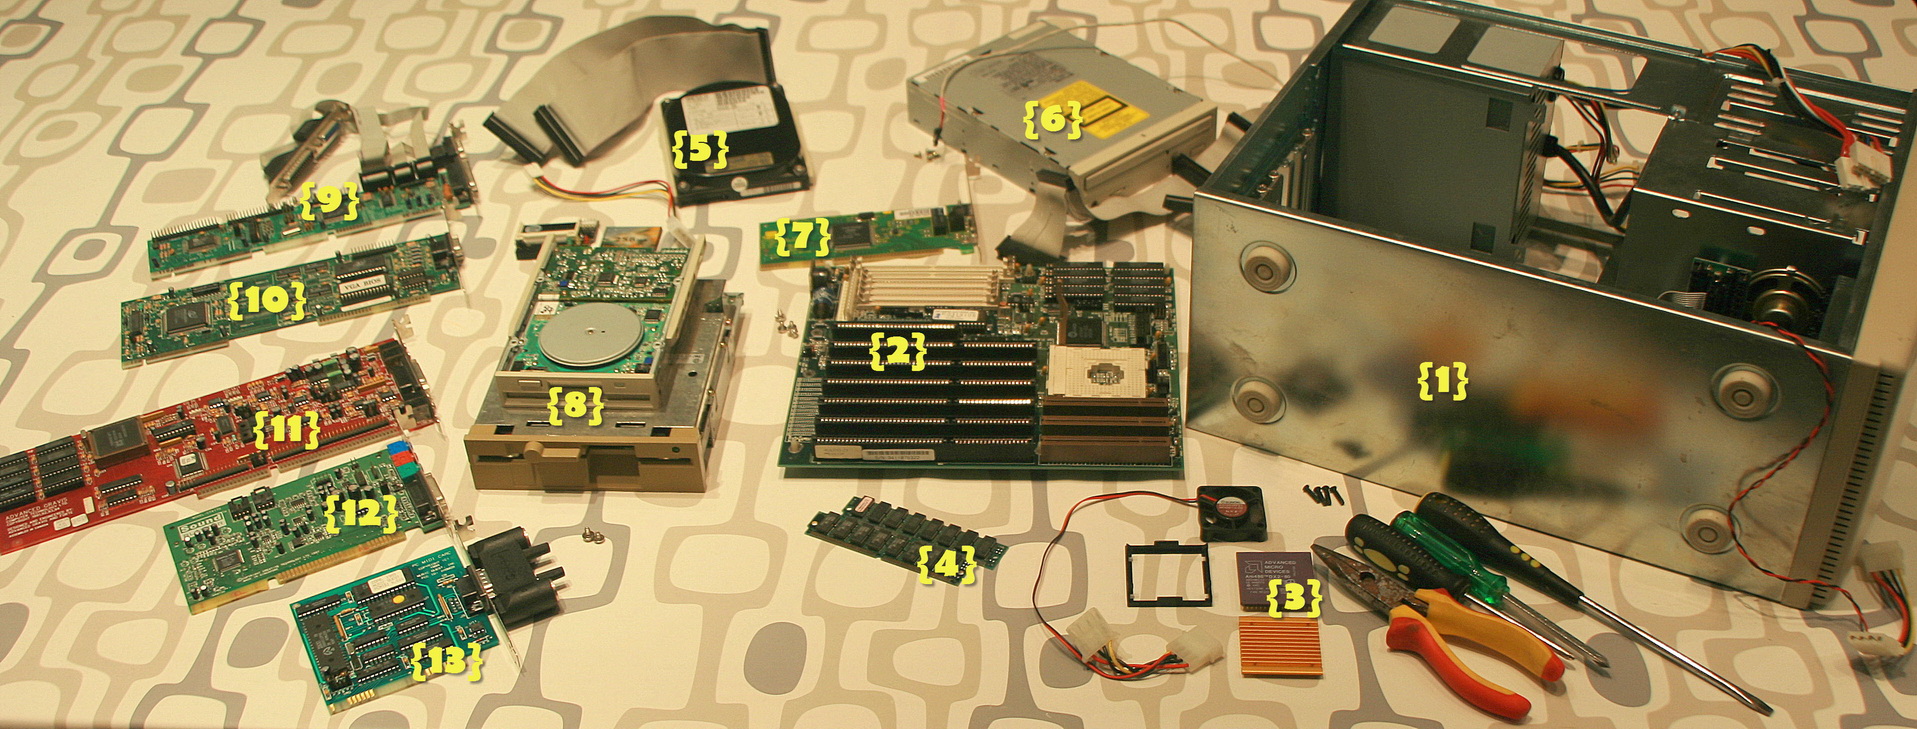
Here is an overview of what will be build :
(1) The case : this one of those retro cases with a display showing the speed of the processor. It also has a turbo button 😉
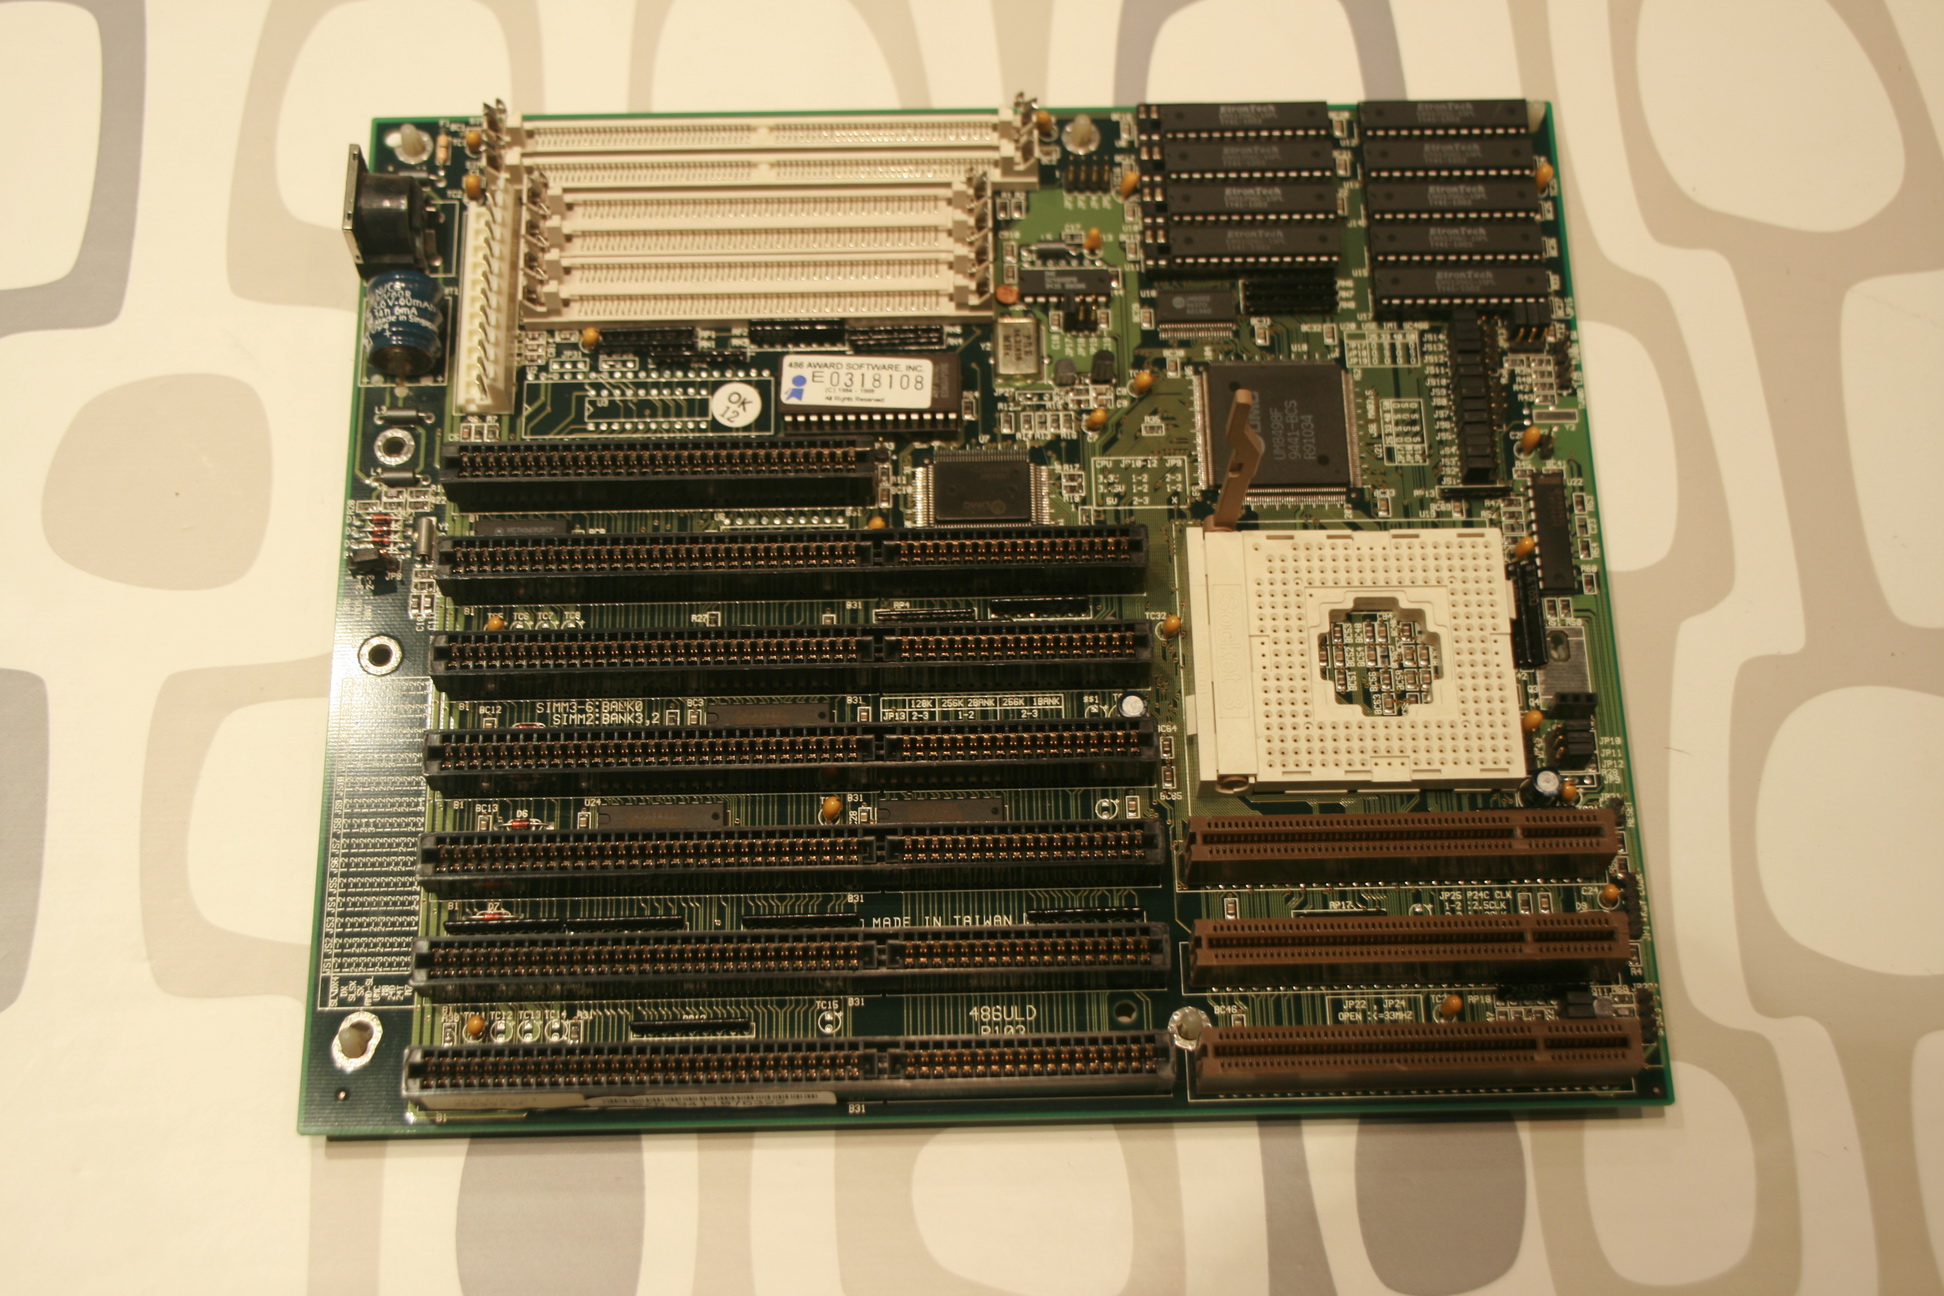
(2) The motherboard is from Chaintech 486 ULD P103 (http://th99.classic-computing.de/src/m/C-D/33063.htm)
It supports a lot of different slots & memory banks
- It makes use of a socket3 type processor
- It has 3x VESA Local Bus slots
- 3x 16bit ISA slots
- 1x 8bit ISA slot
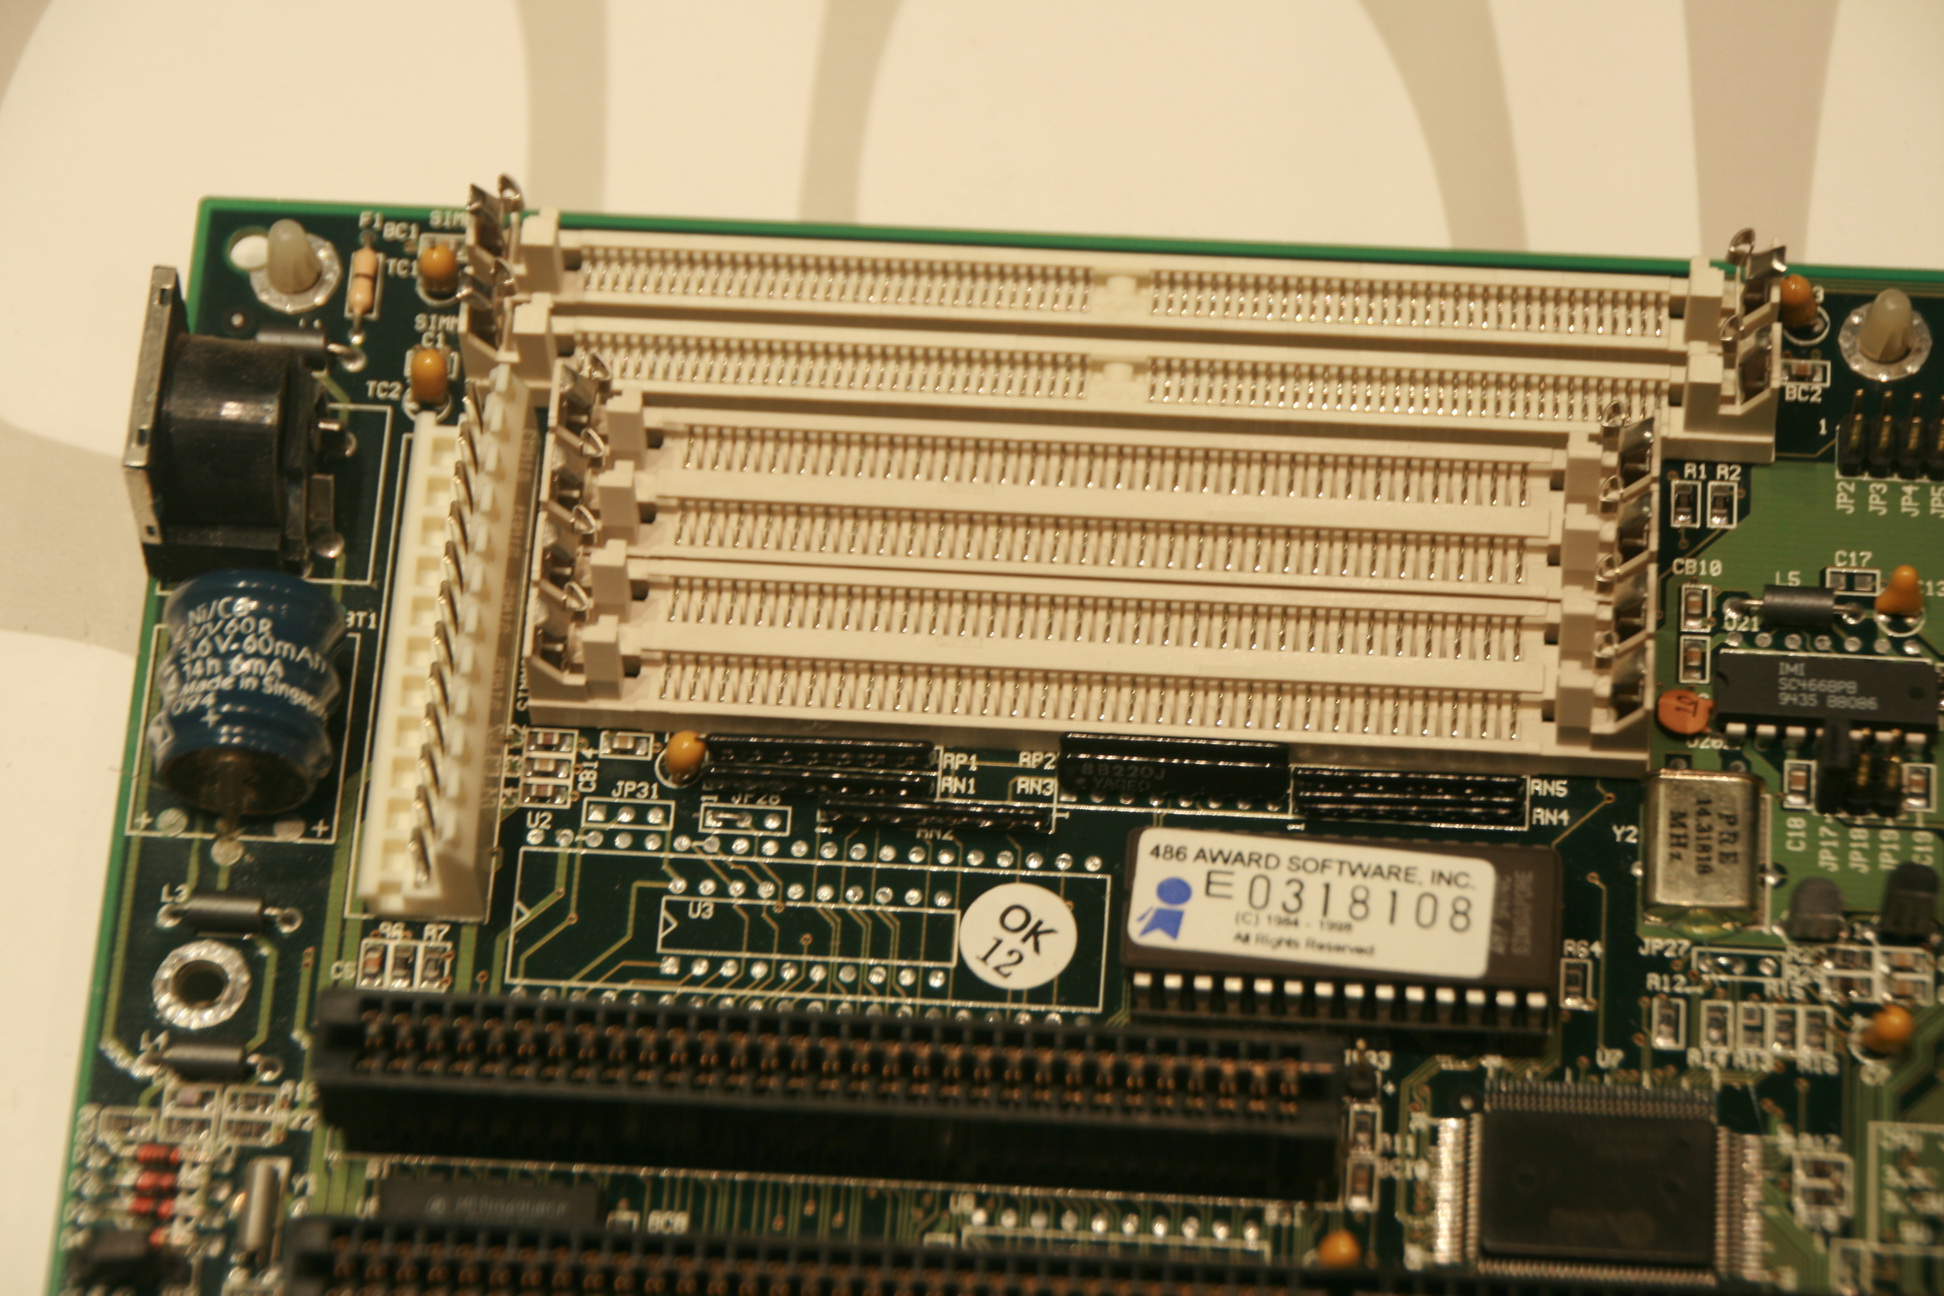
- 2x 72pin memory banks
- 4x 32pin memory banks
The battery is still dead and I still need to fix that one 😉
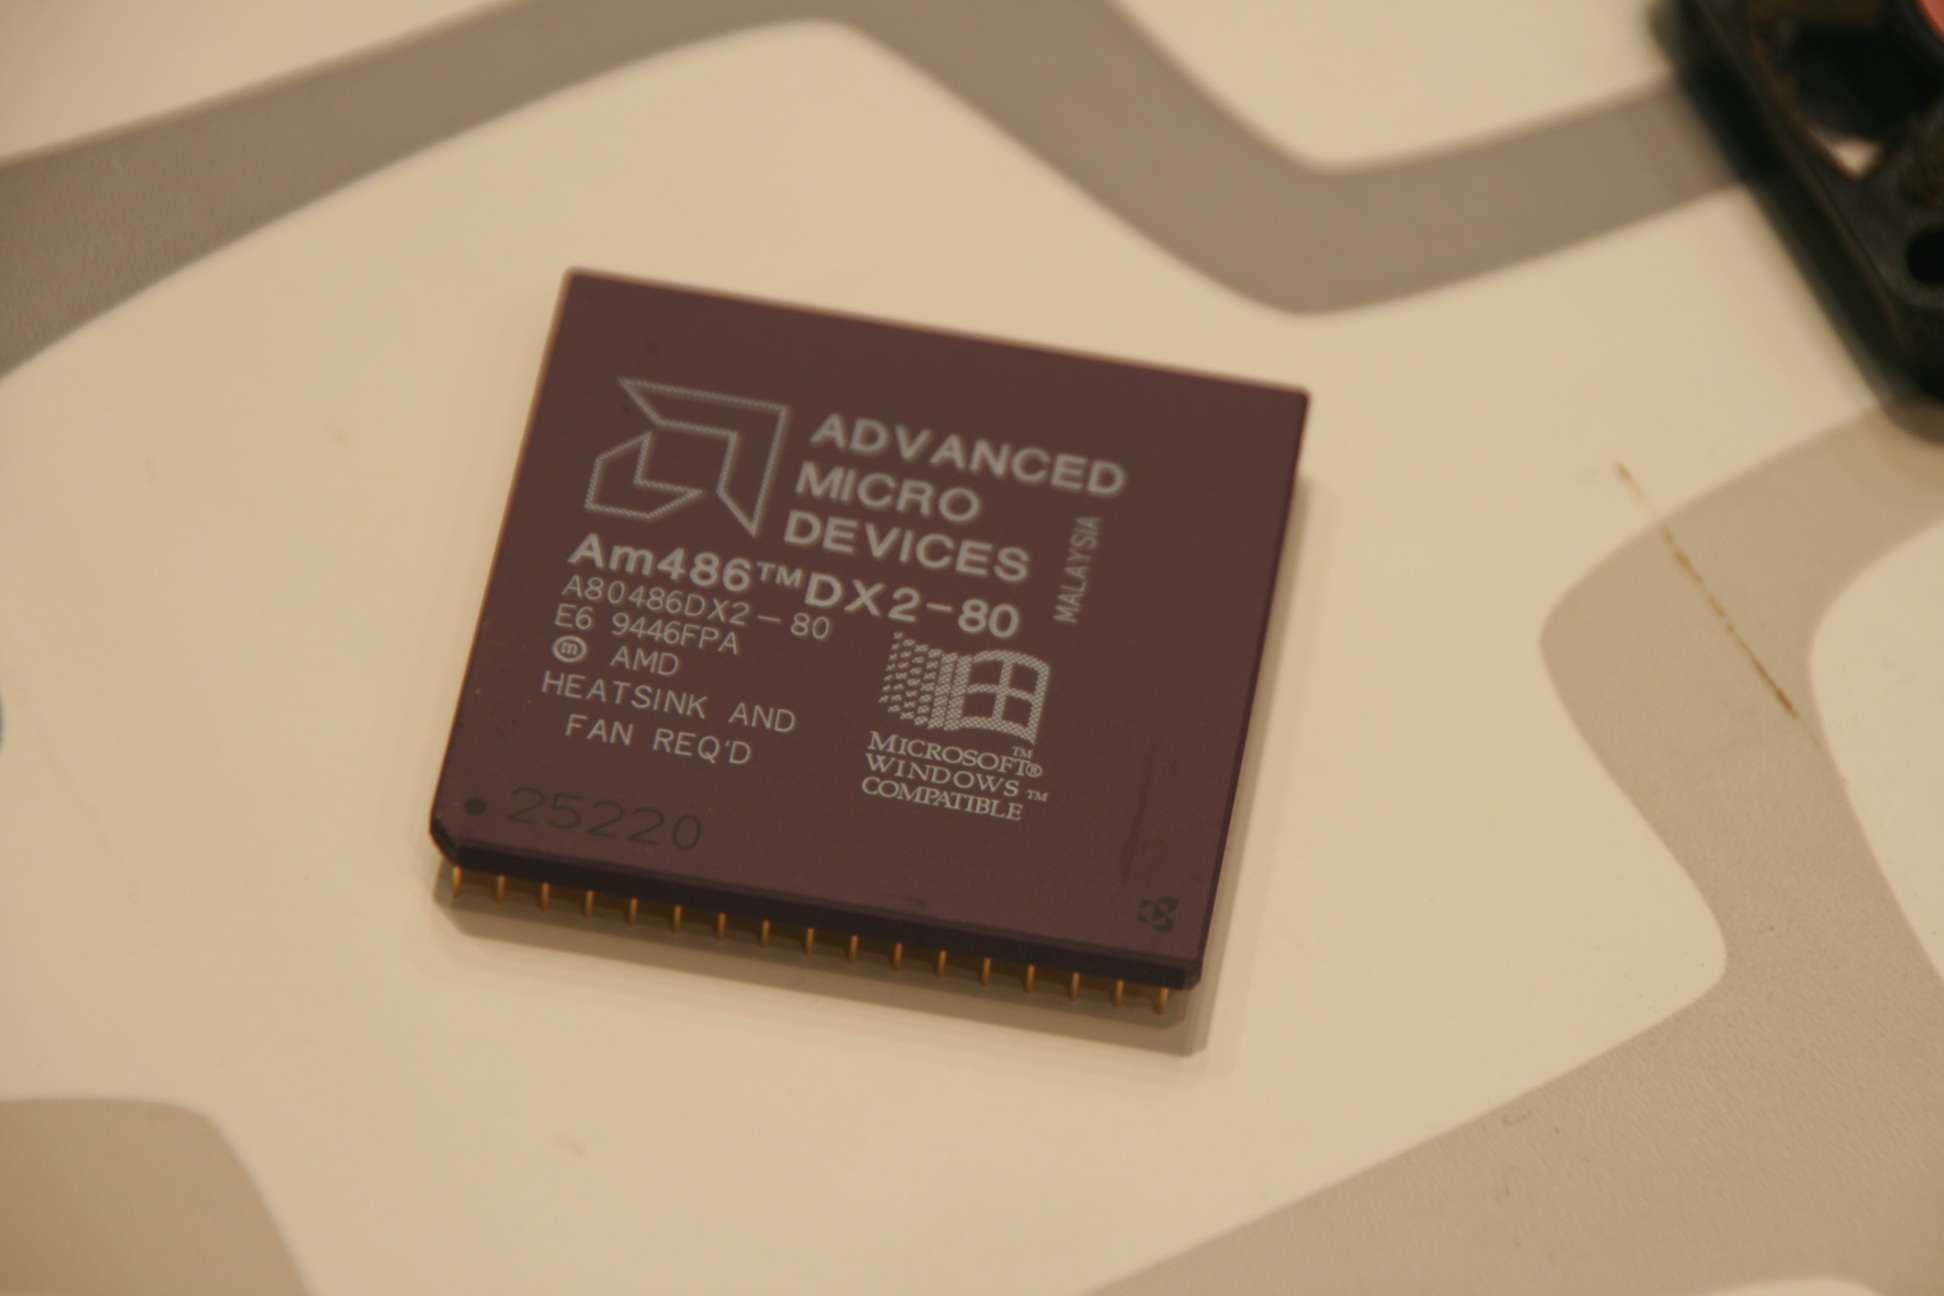
(3) The CPU, fan & heat sink. It’s an AMD DX2-80.
(4) 2x 72pins memory modules of each 16Mb.
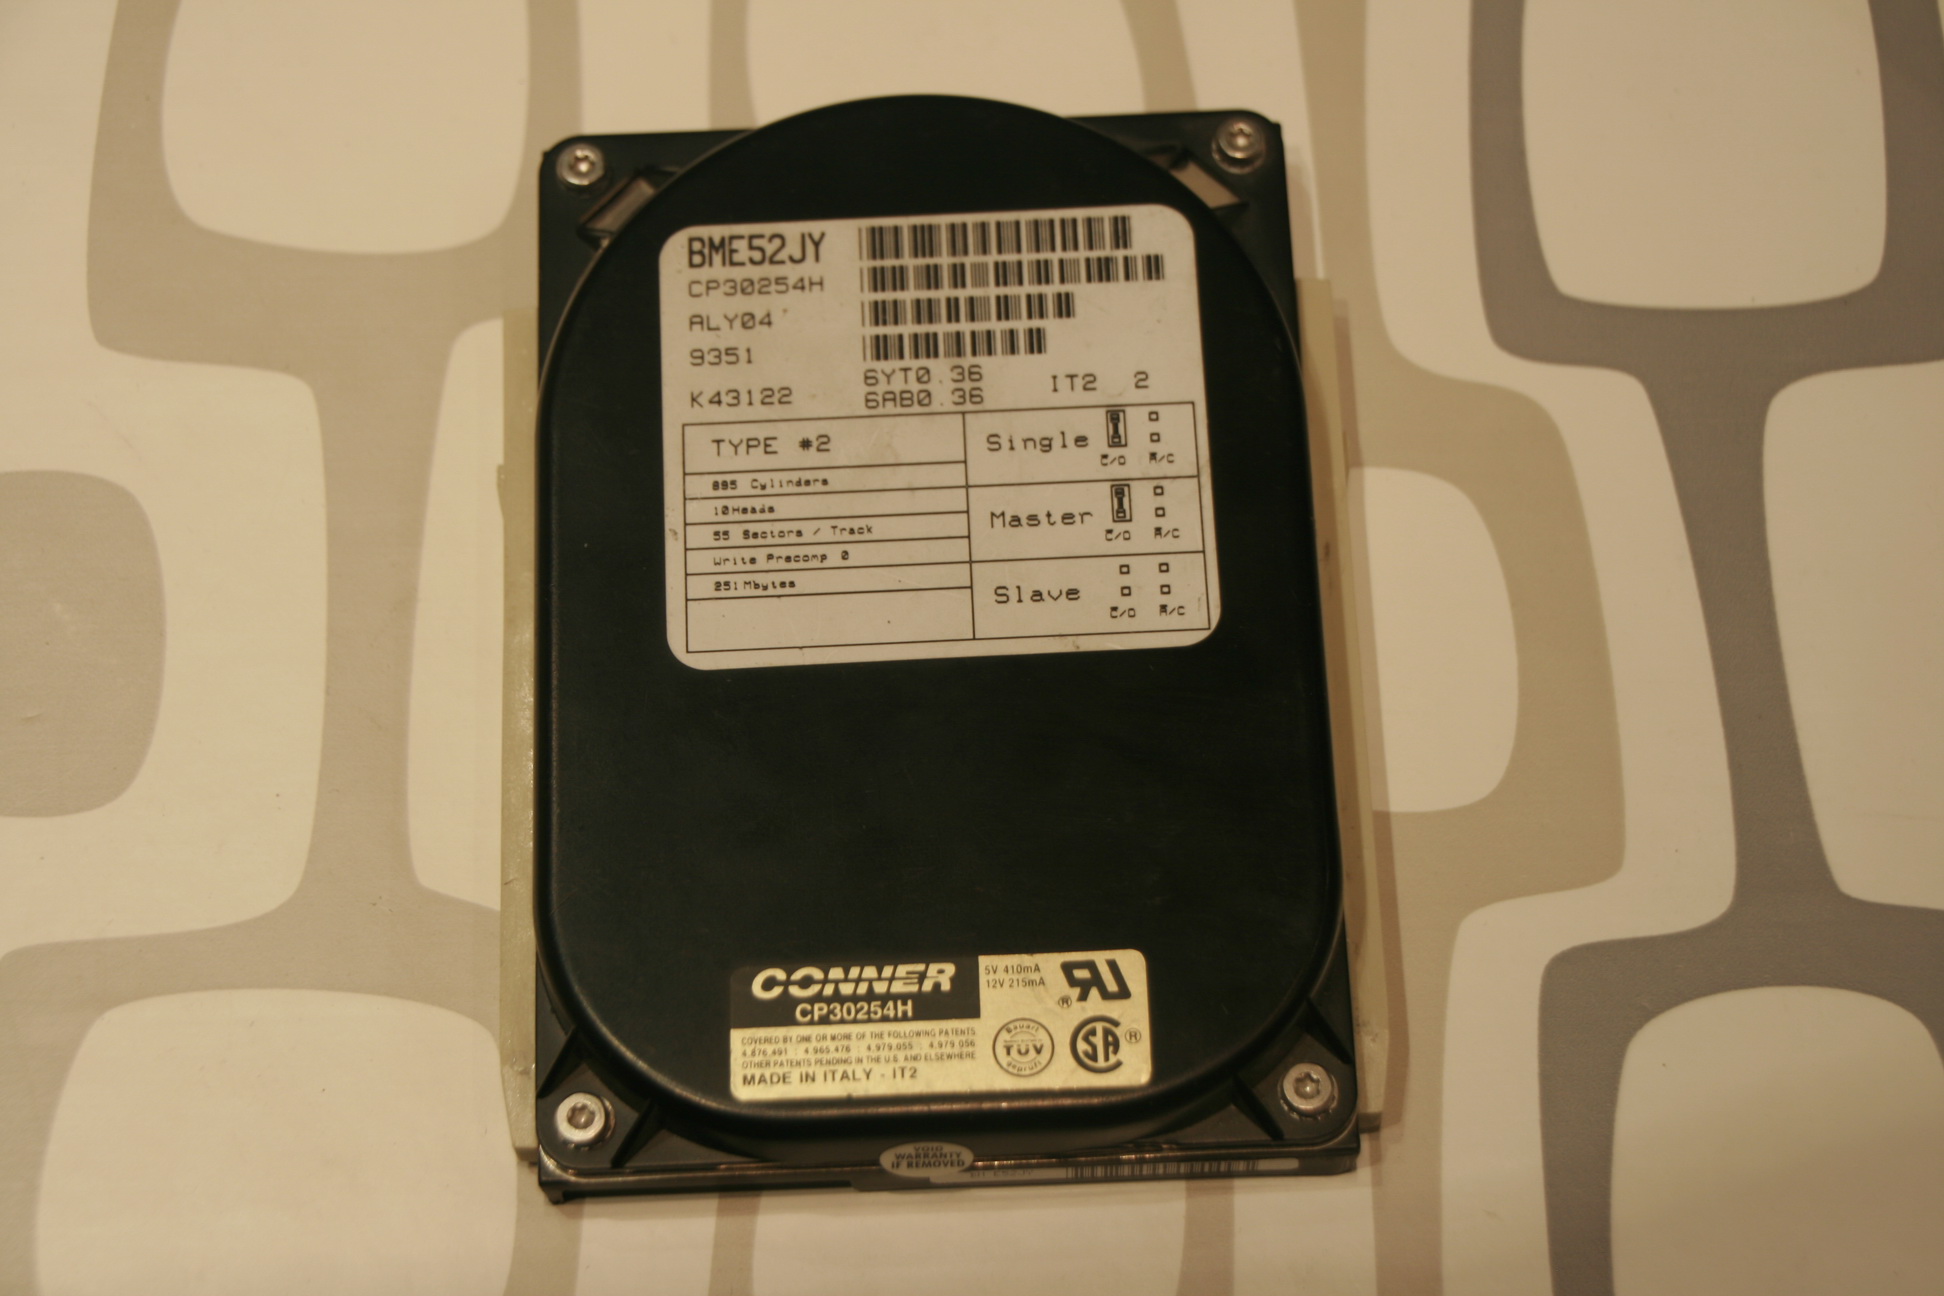
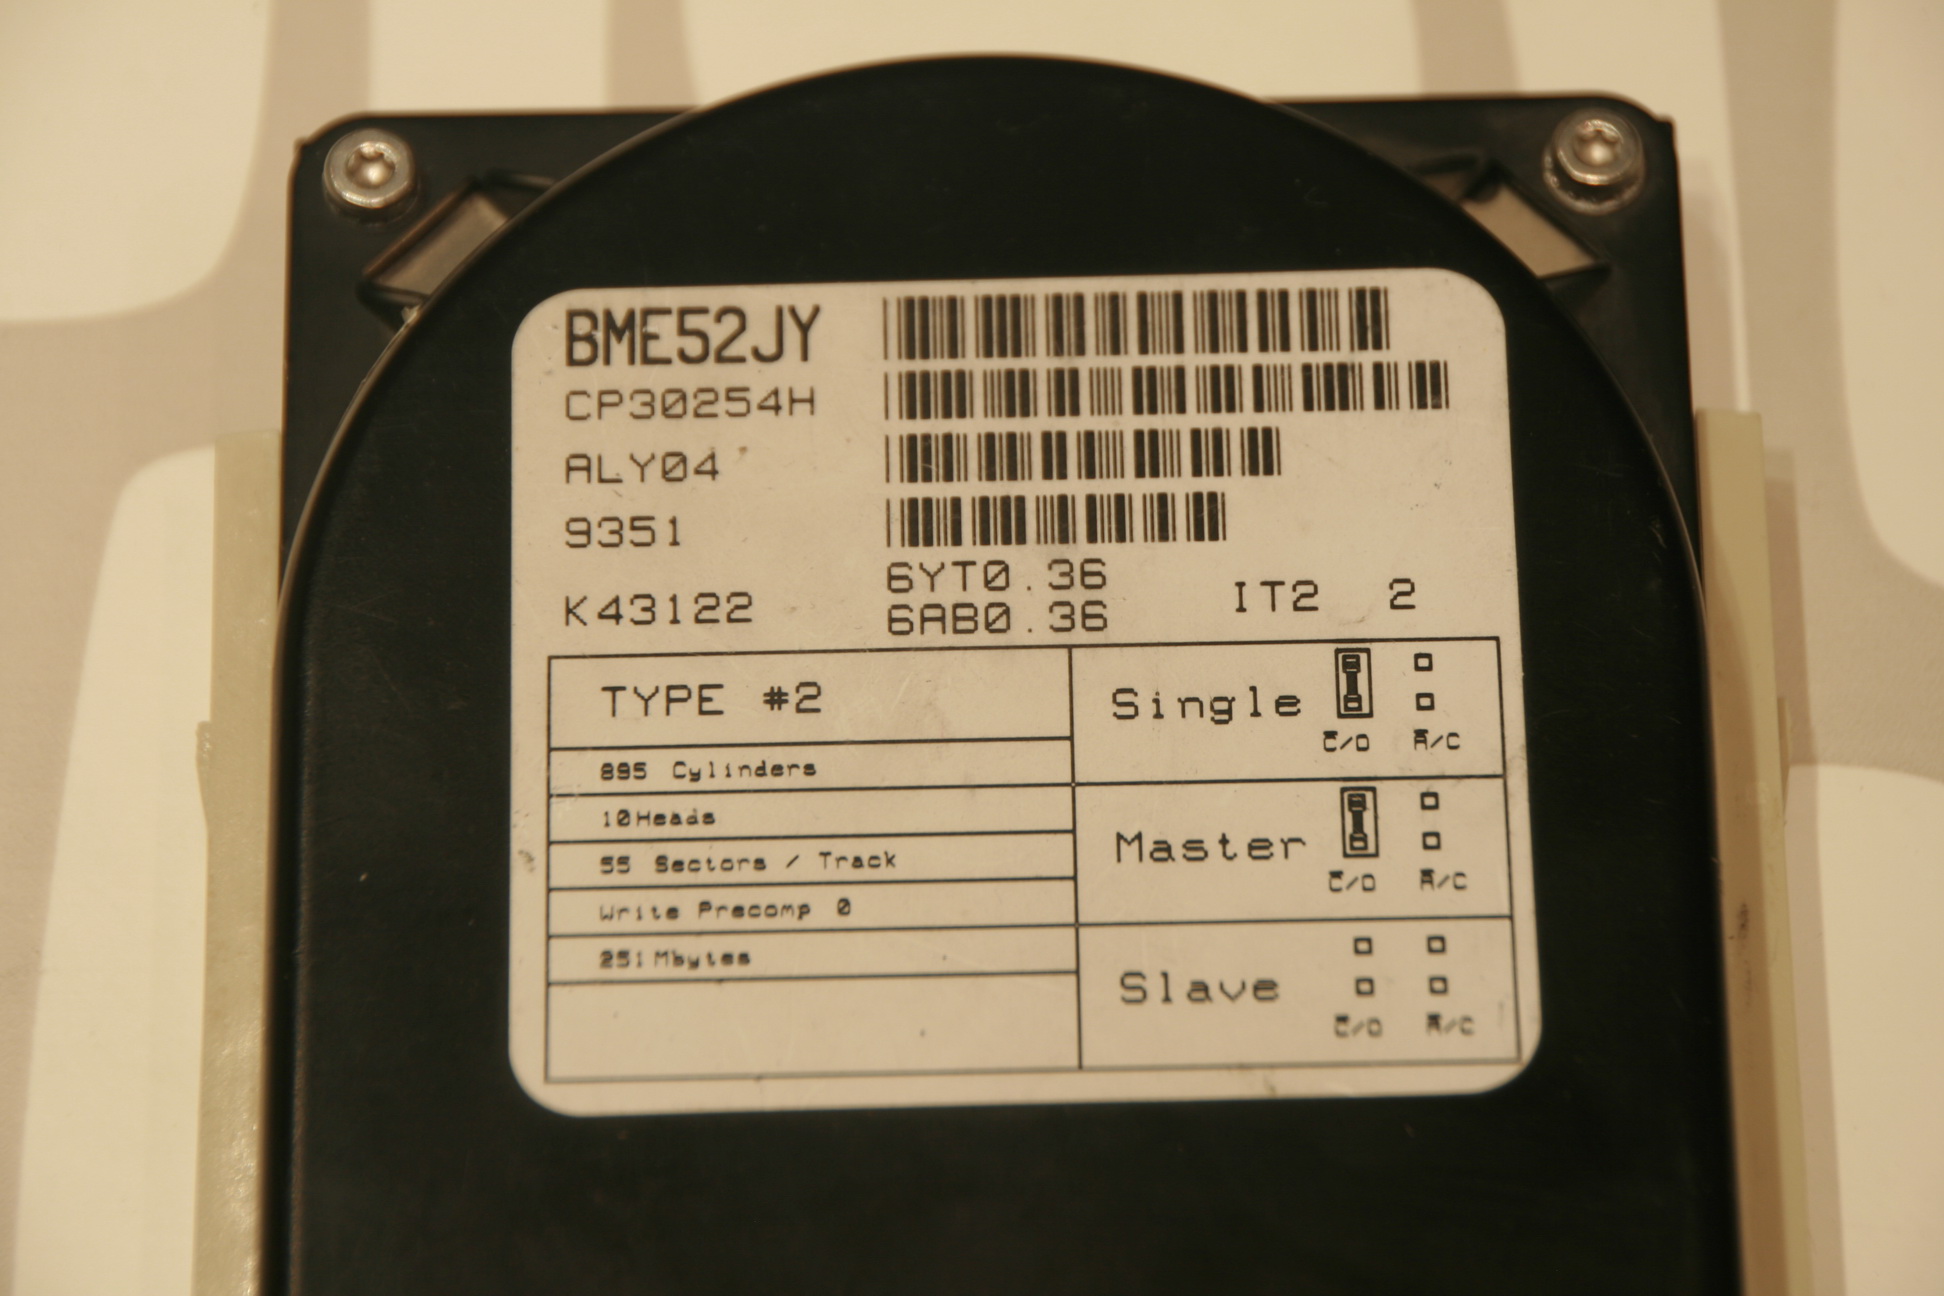
(5) The hard disk : a Conner (CP30254H) of 251Mb. (http://www.codemicro.com/support/disc/ata/cp30254h.html)
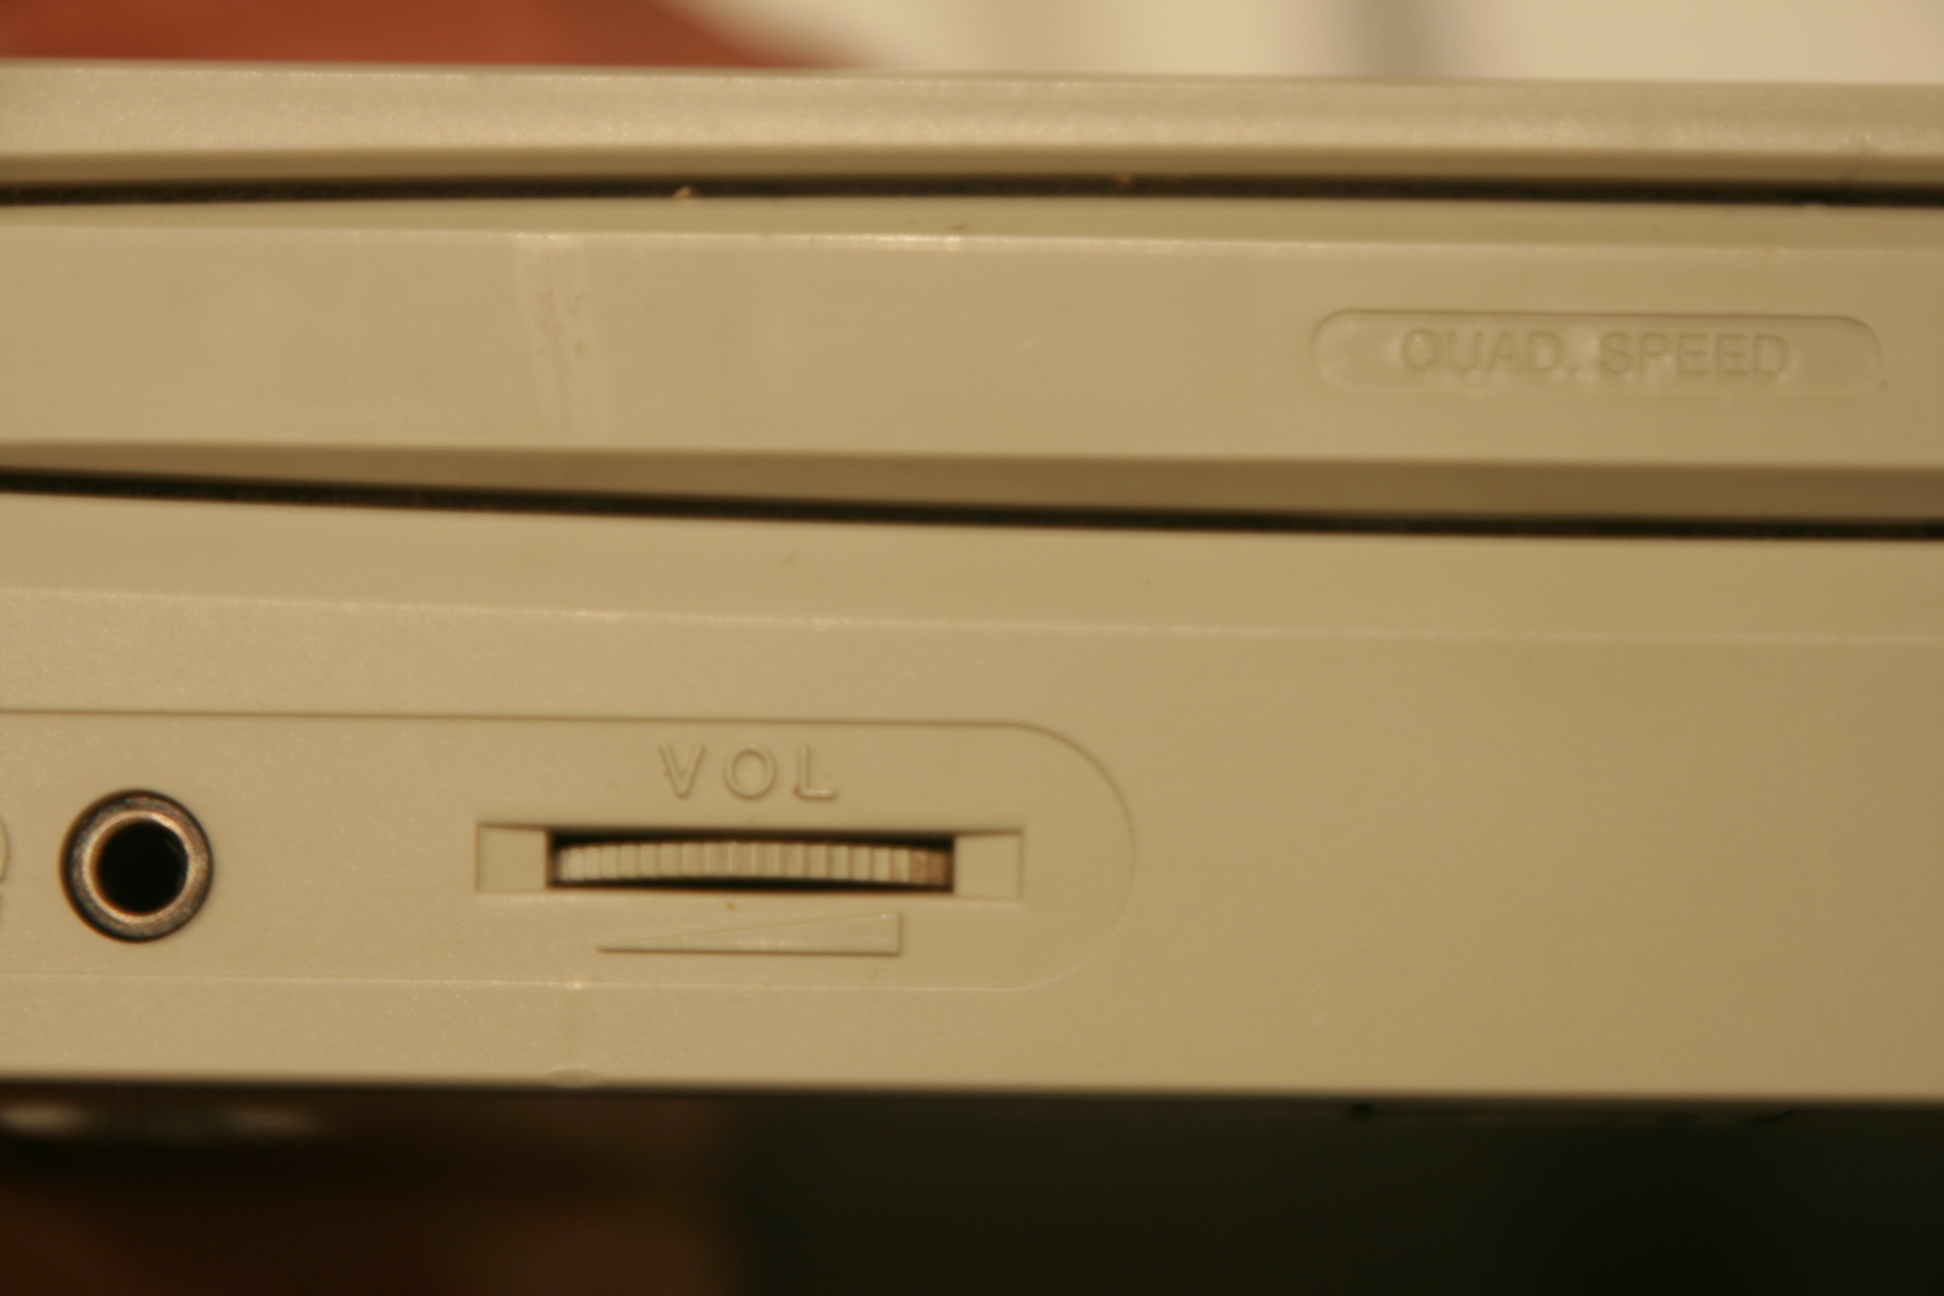
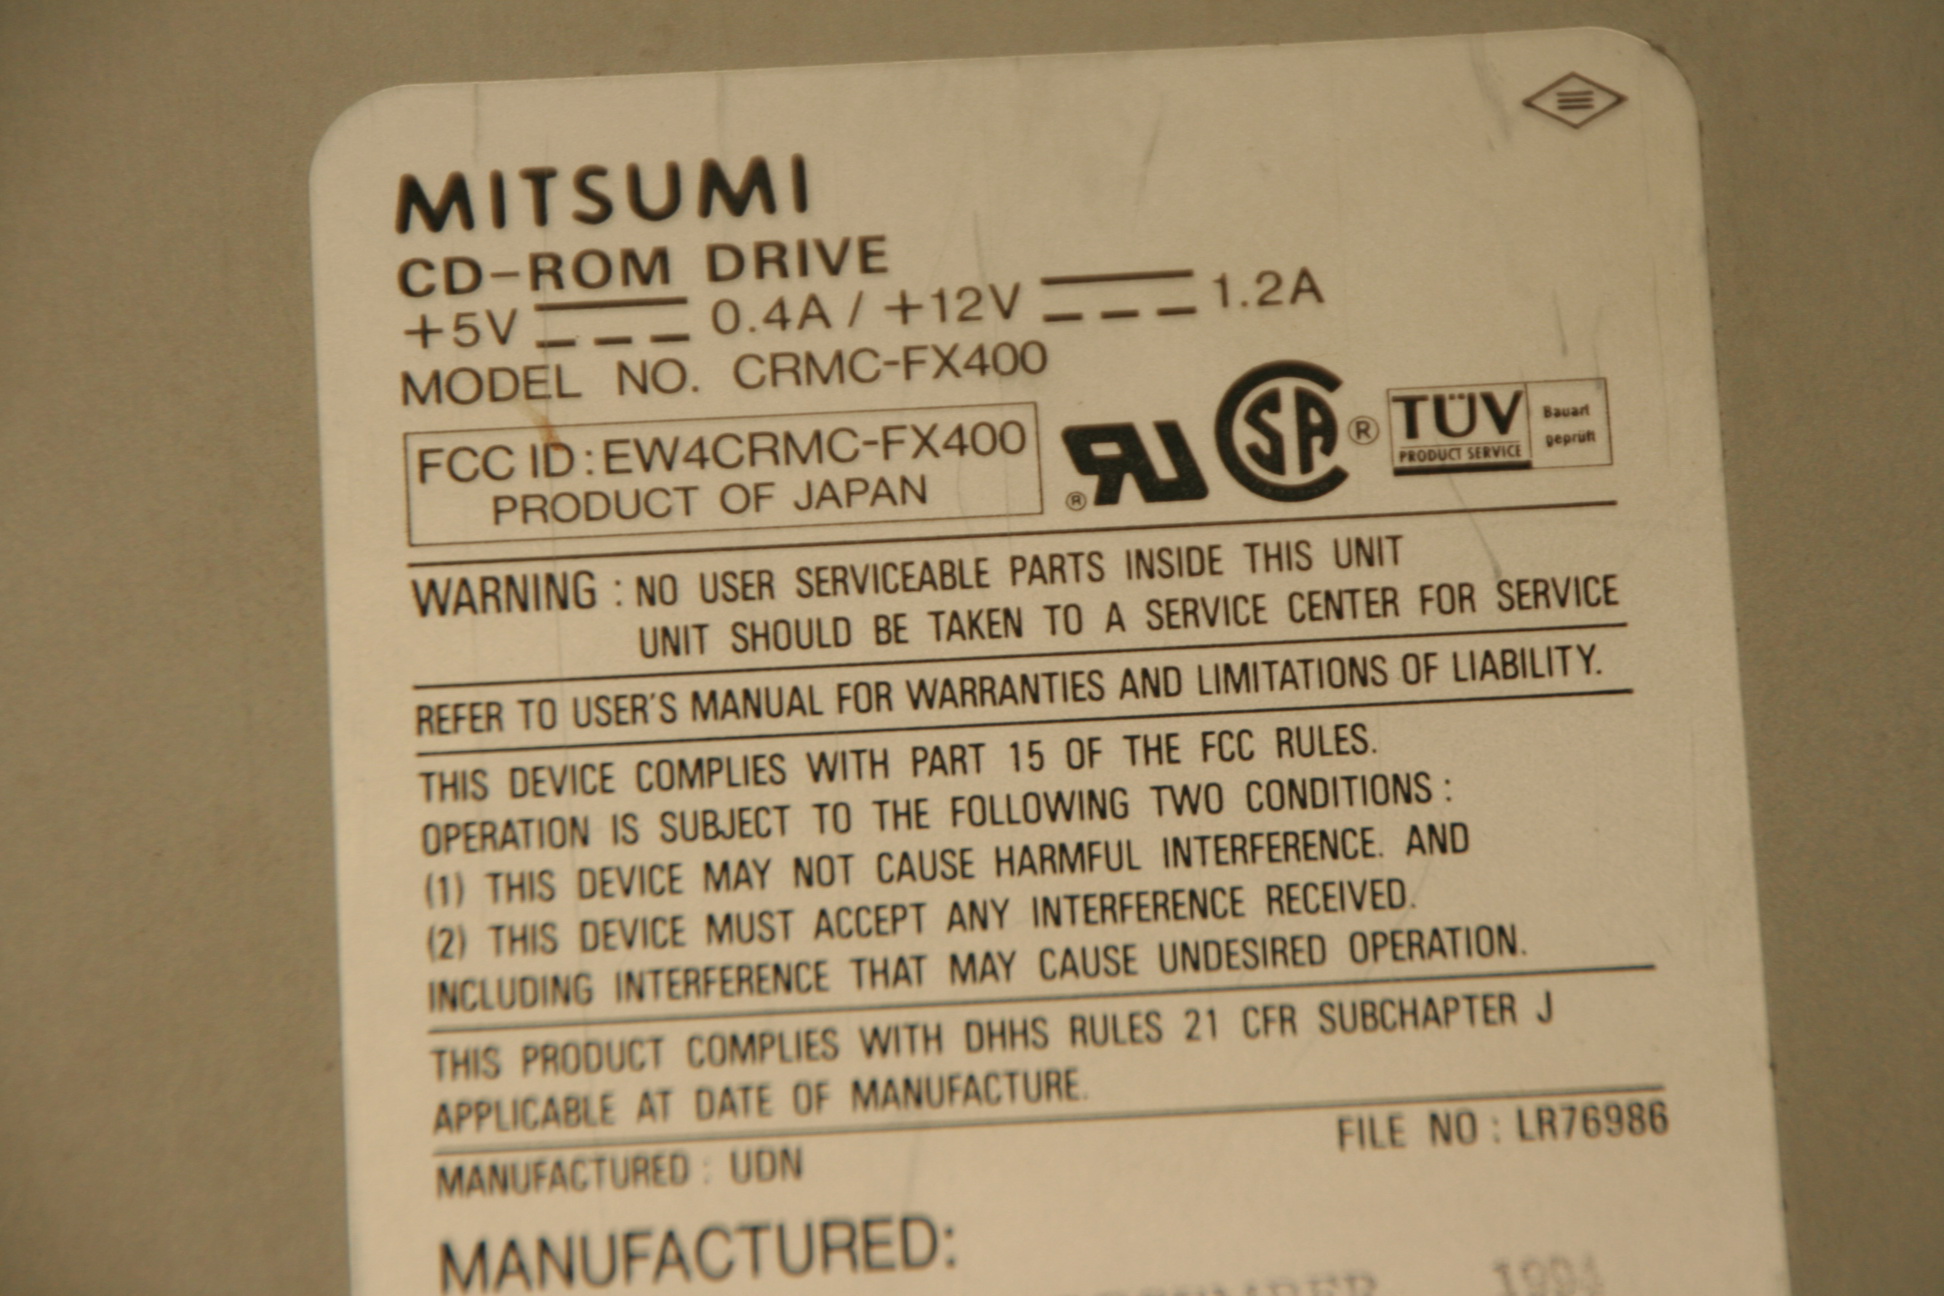
(6) CDROM Drive : a Mitsumi quad speed. This is my favorite Retro CDROM drive, because it doesn’t make the sound of a lawnmower ! I don’t need a faster one.
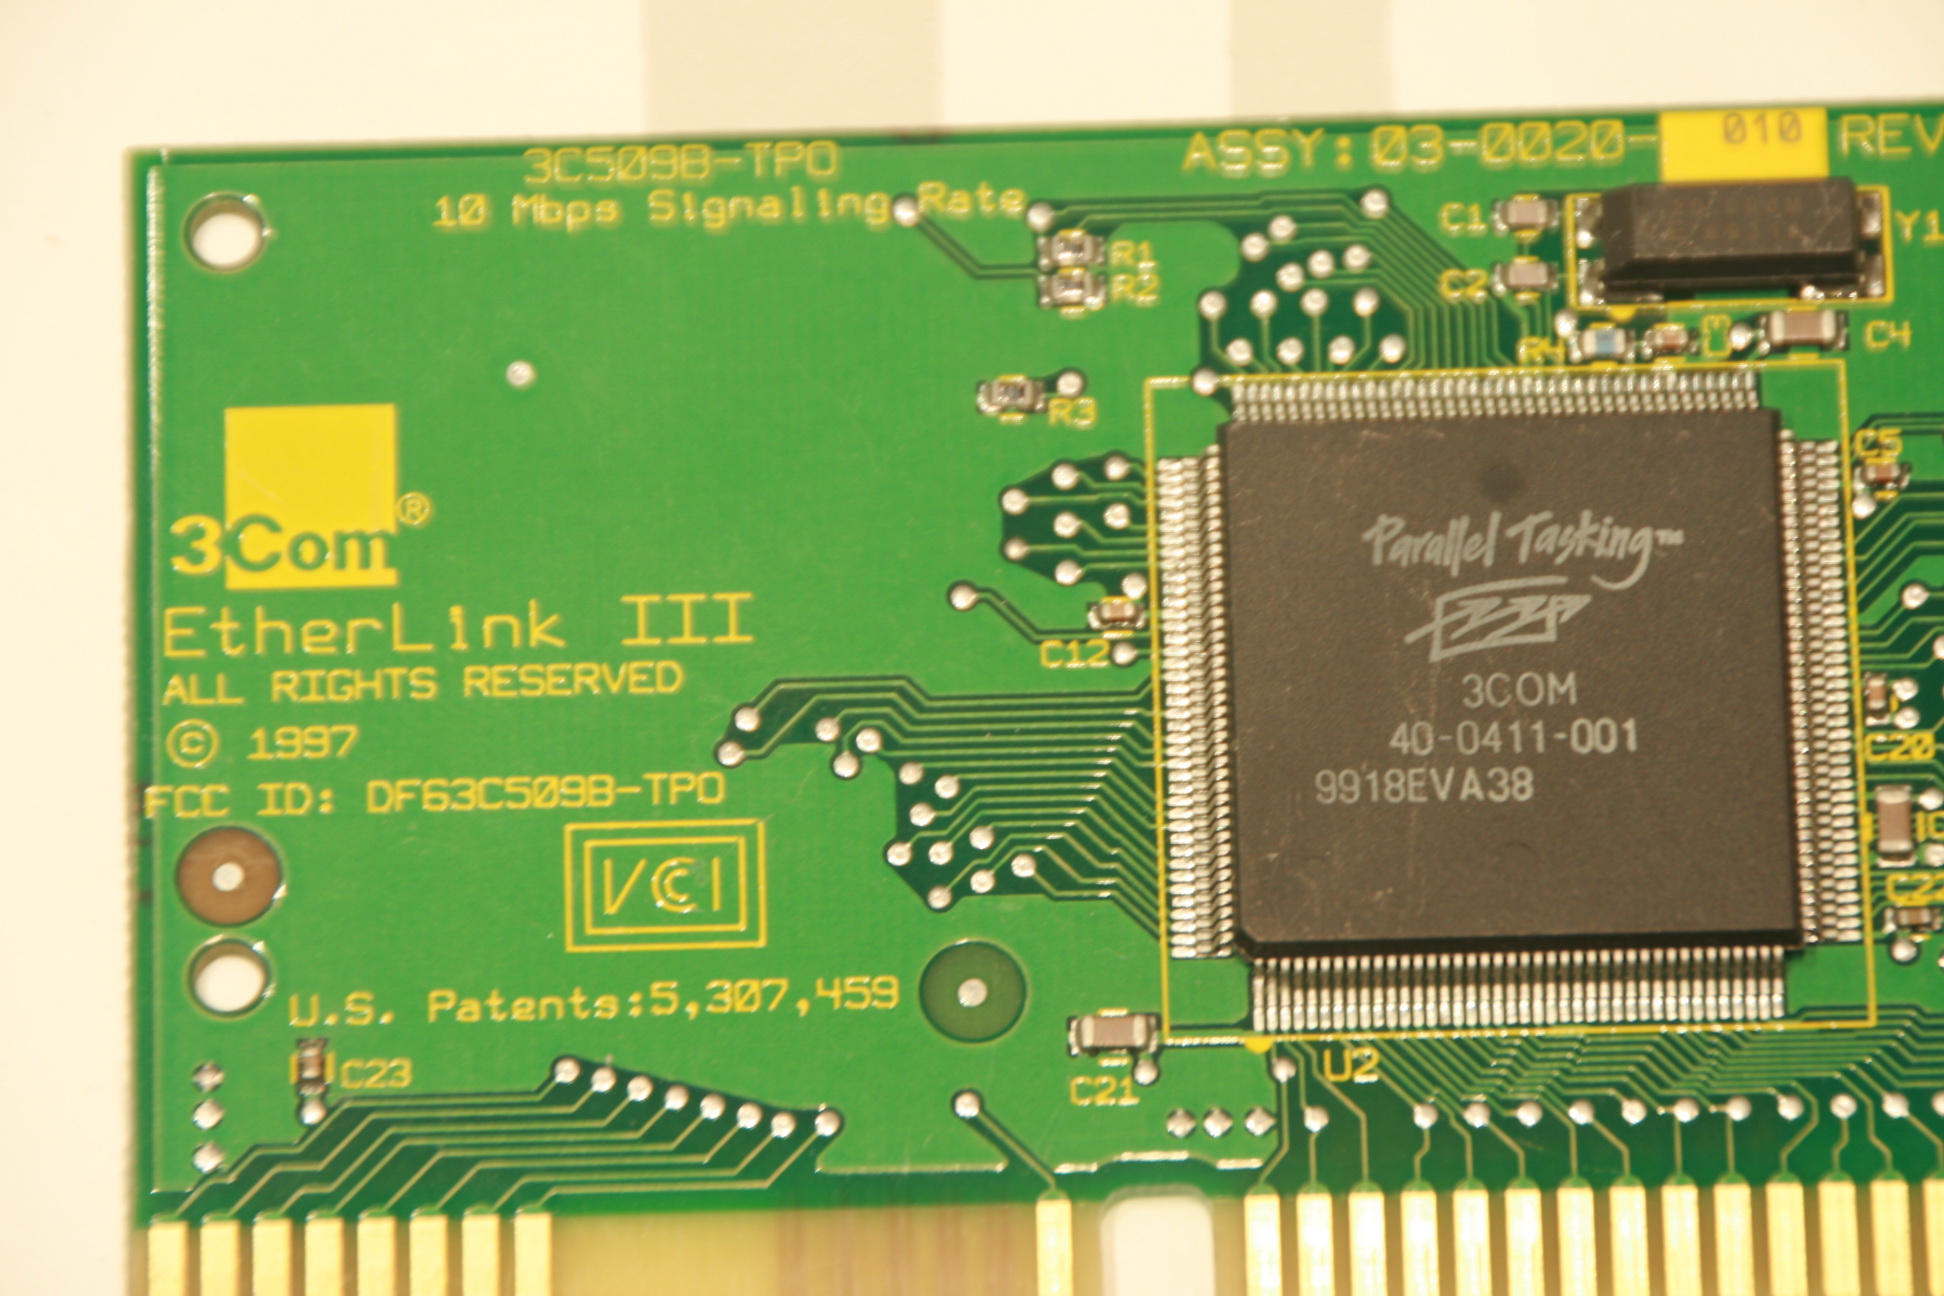
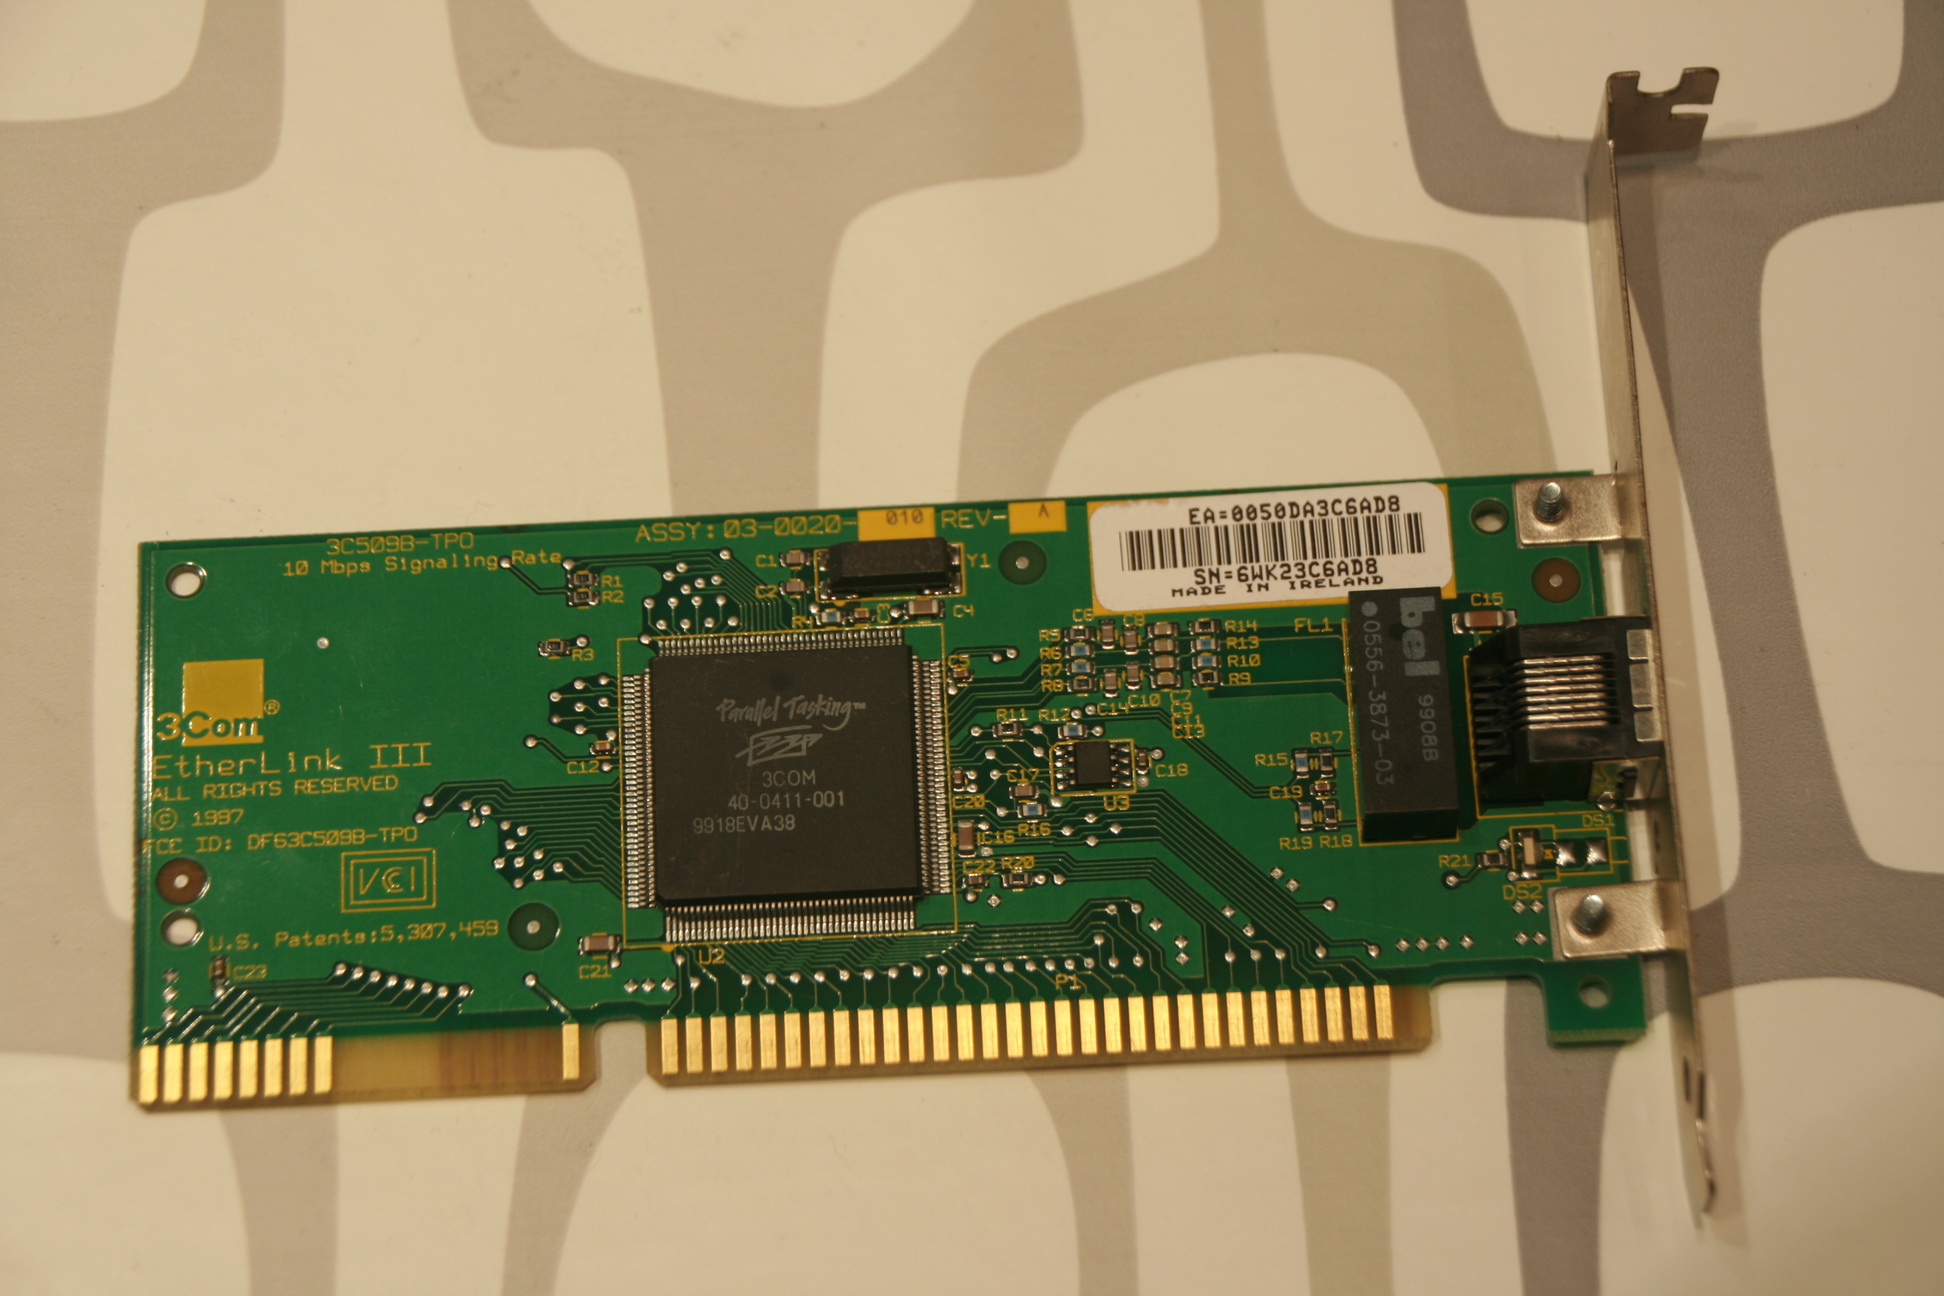
(7) The network card : a 3COM Etherlink III. This is one of the best supported network cards I have seen that are well supported in DOS.
(8) The floppy drives : a 3.5inch 1.44Mb HD floppy drive and a 5.25-inch 360Kb one.
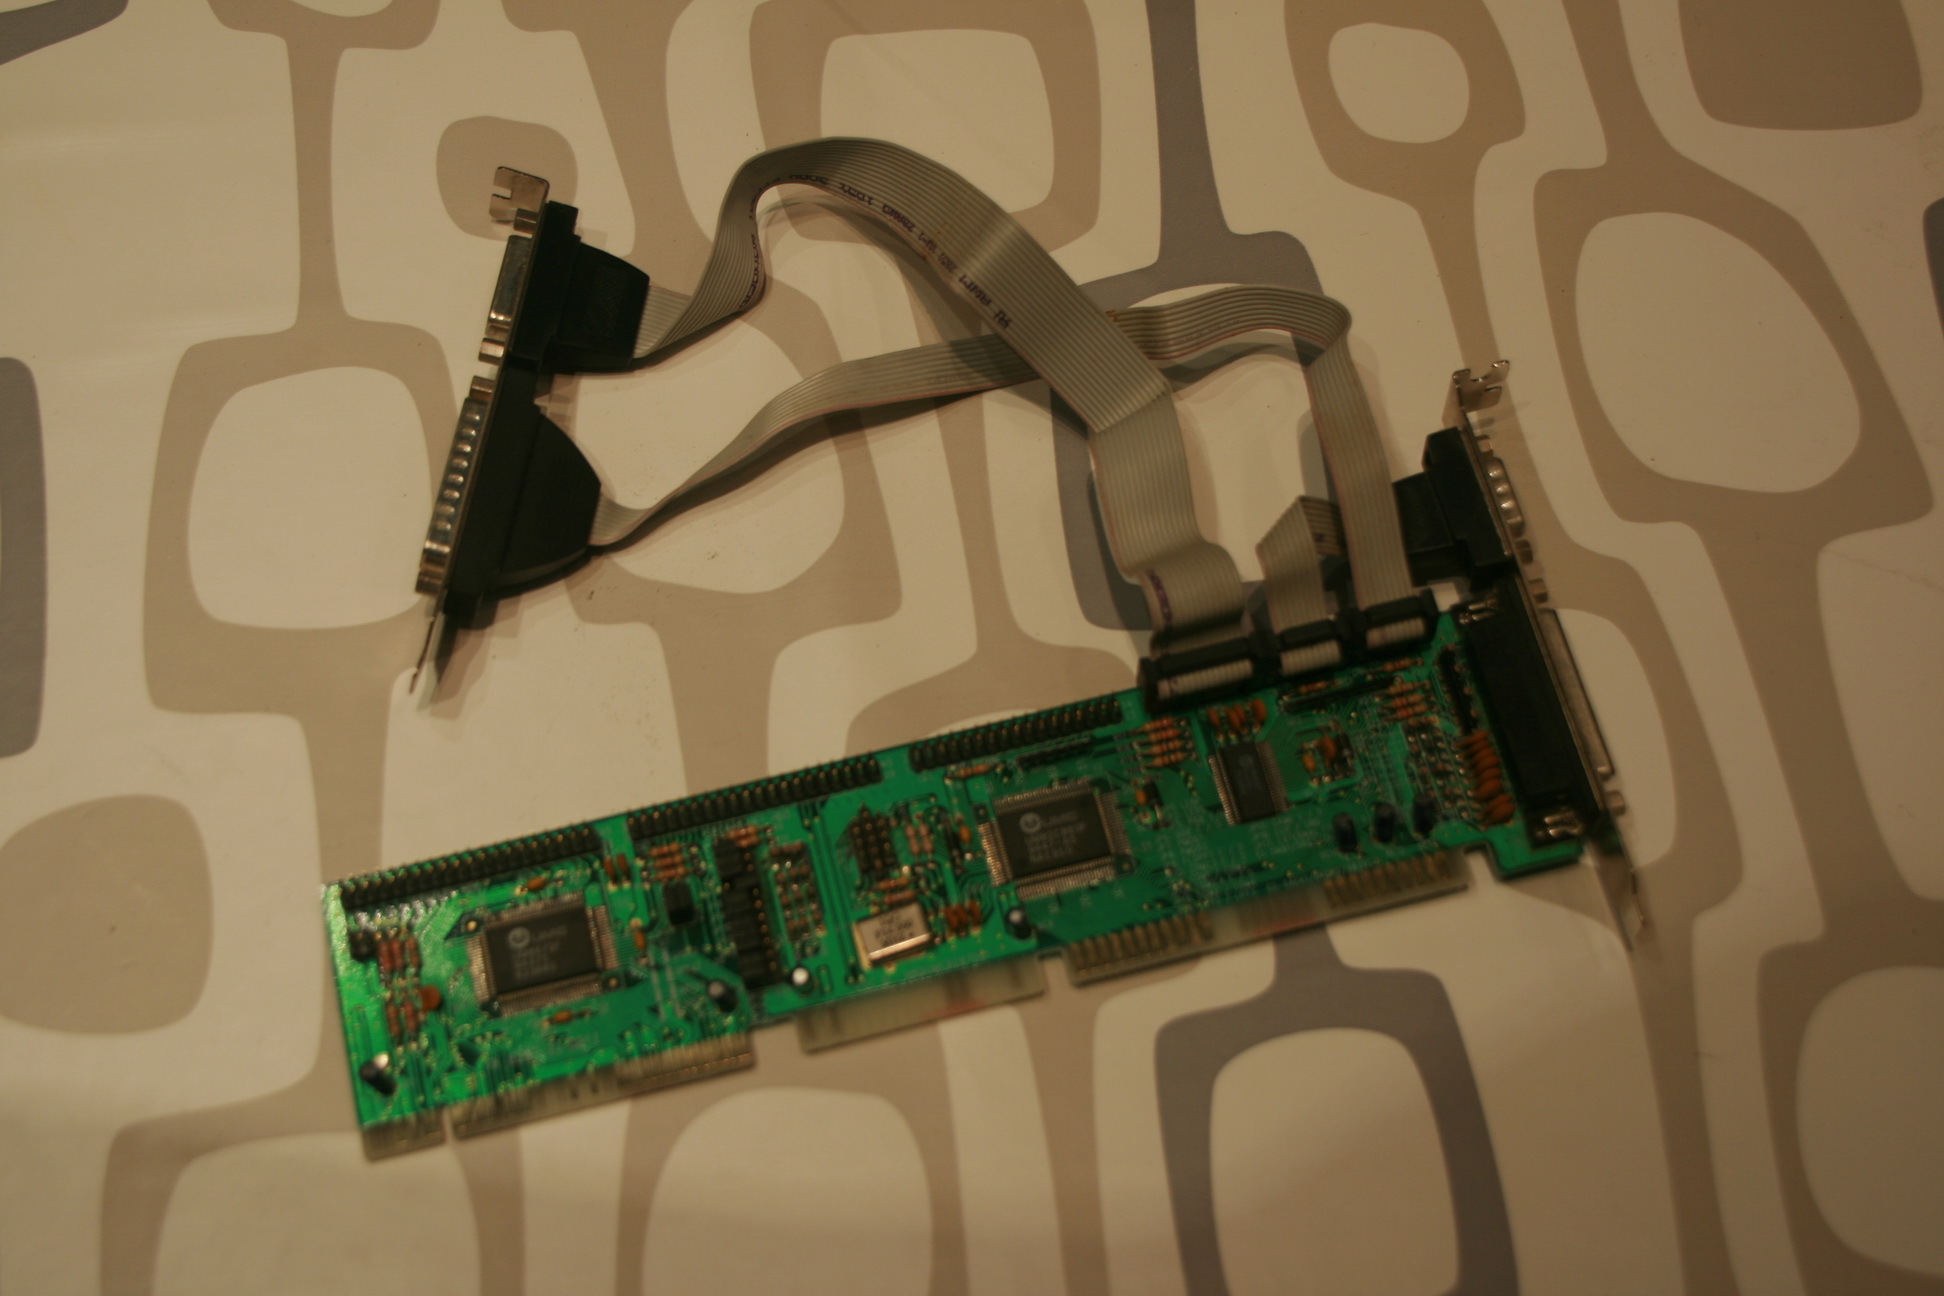
(9) The VESA local bus hard disk & floppy controller. In these days the hard disk & floppy drives were controlled by an extra add-on card and not via the motherboard like today.
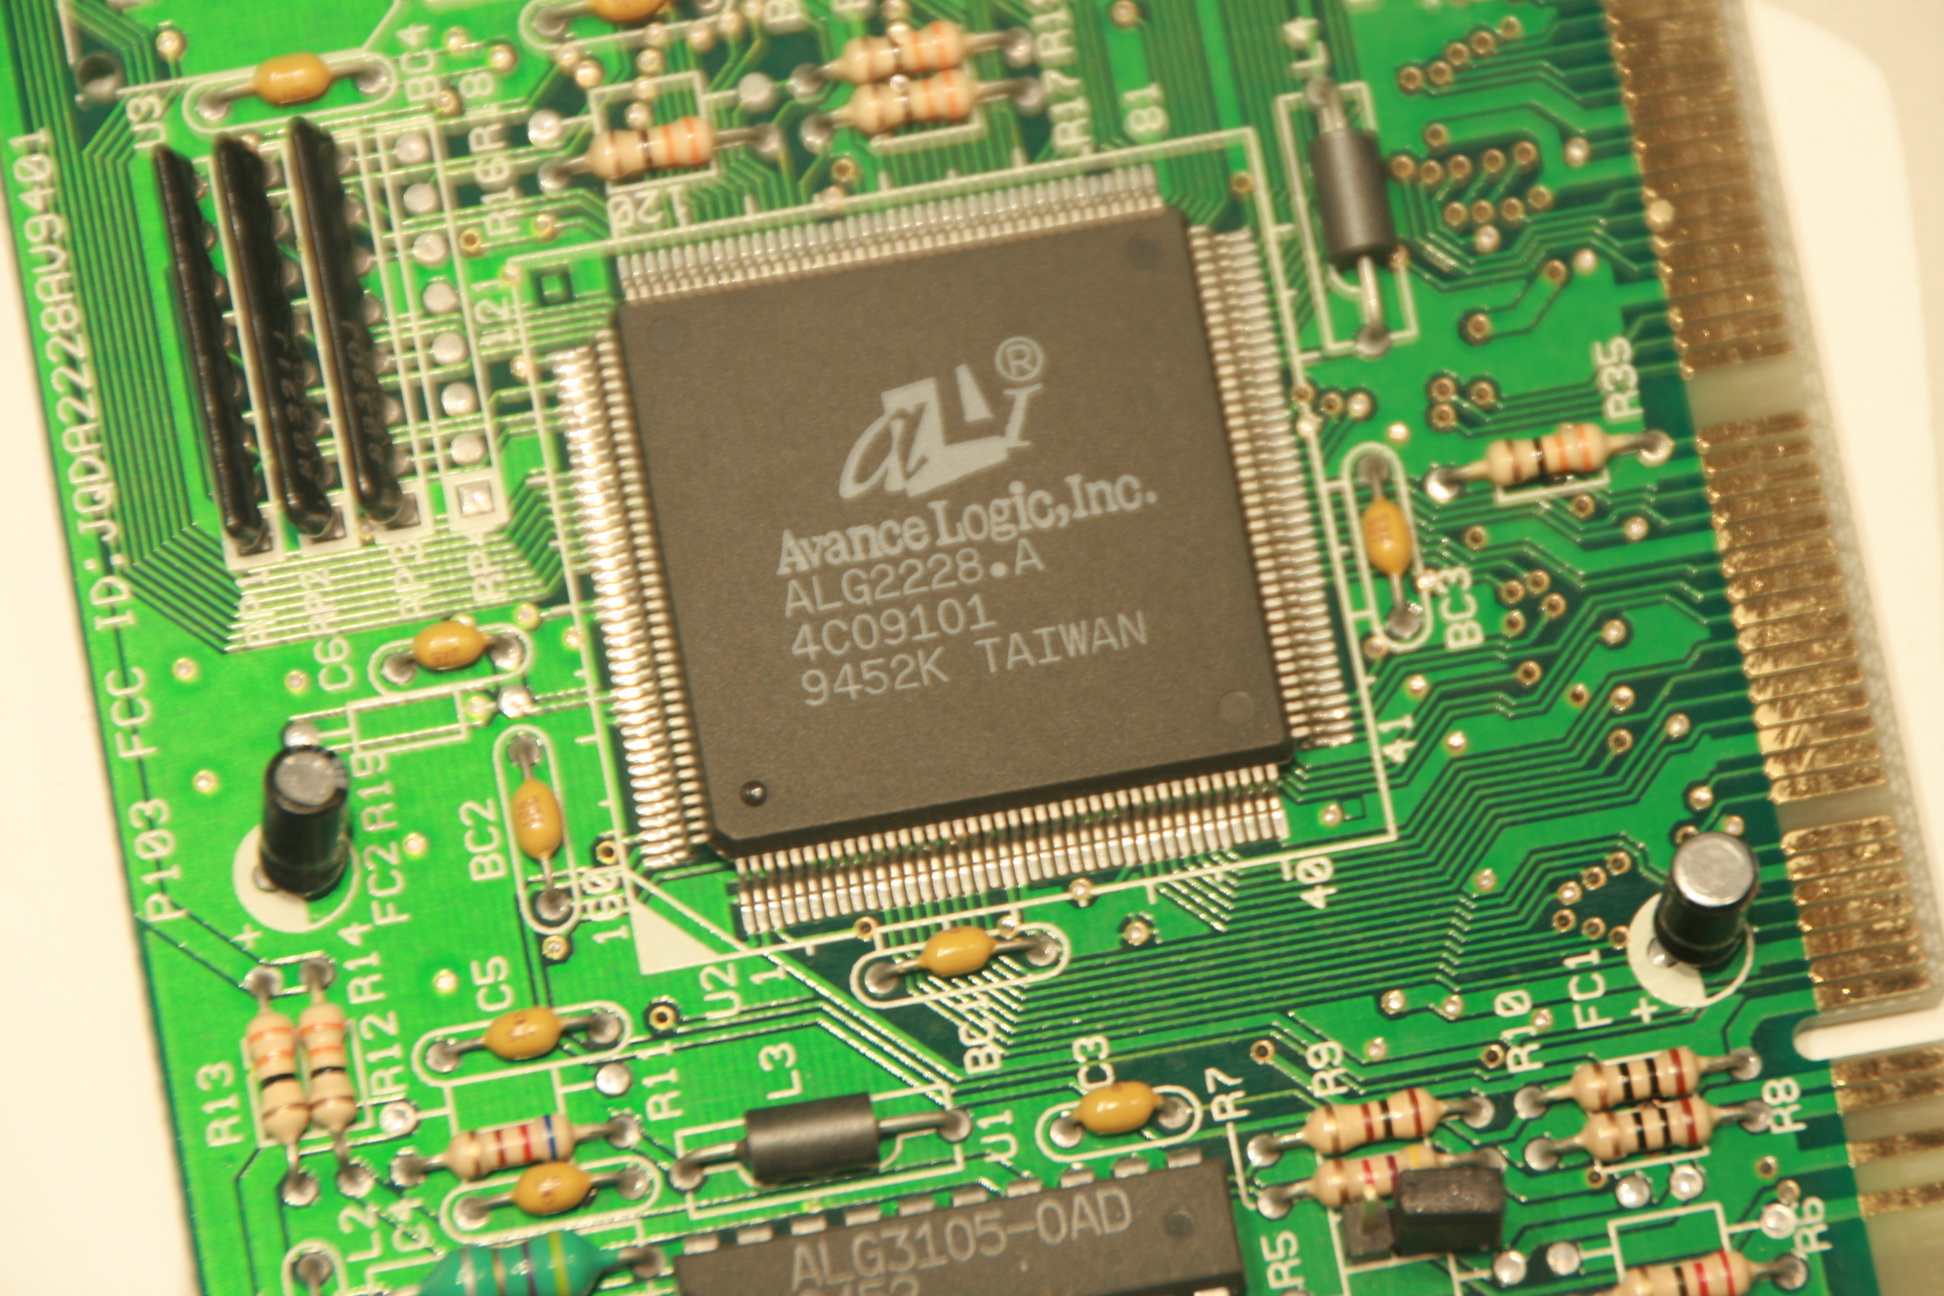
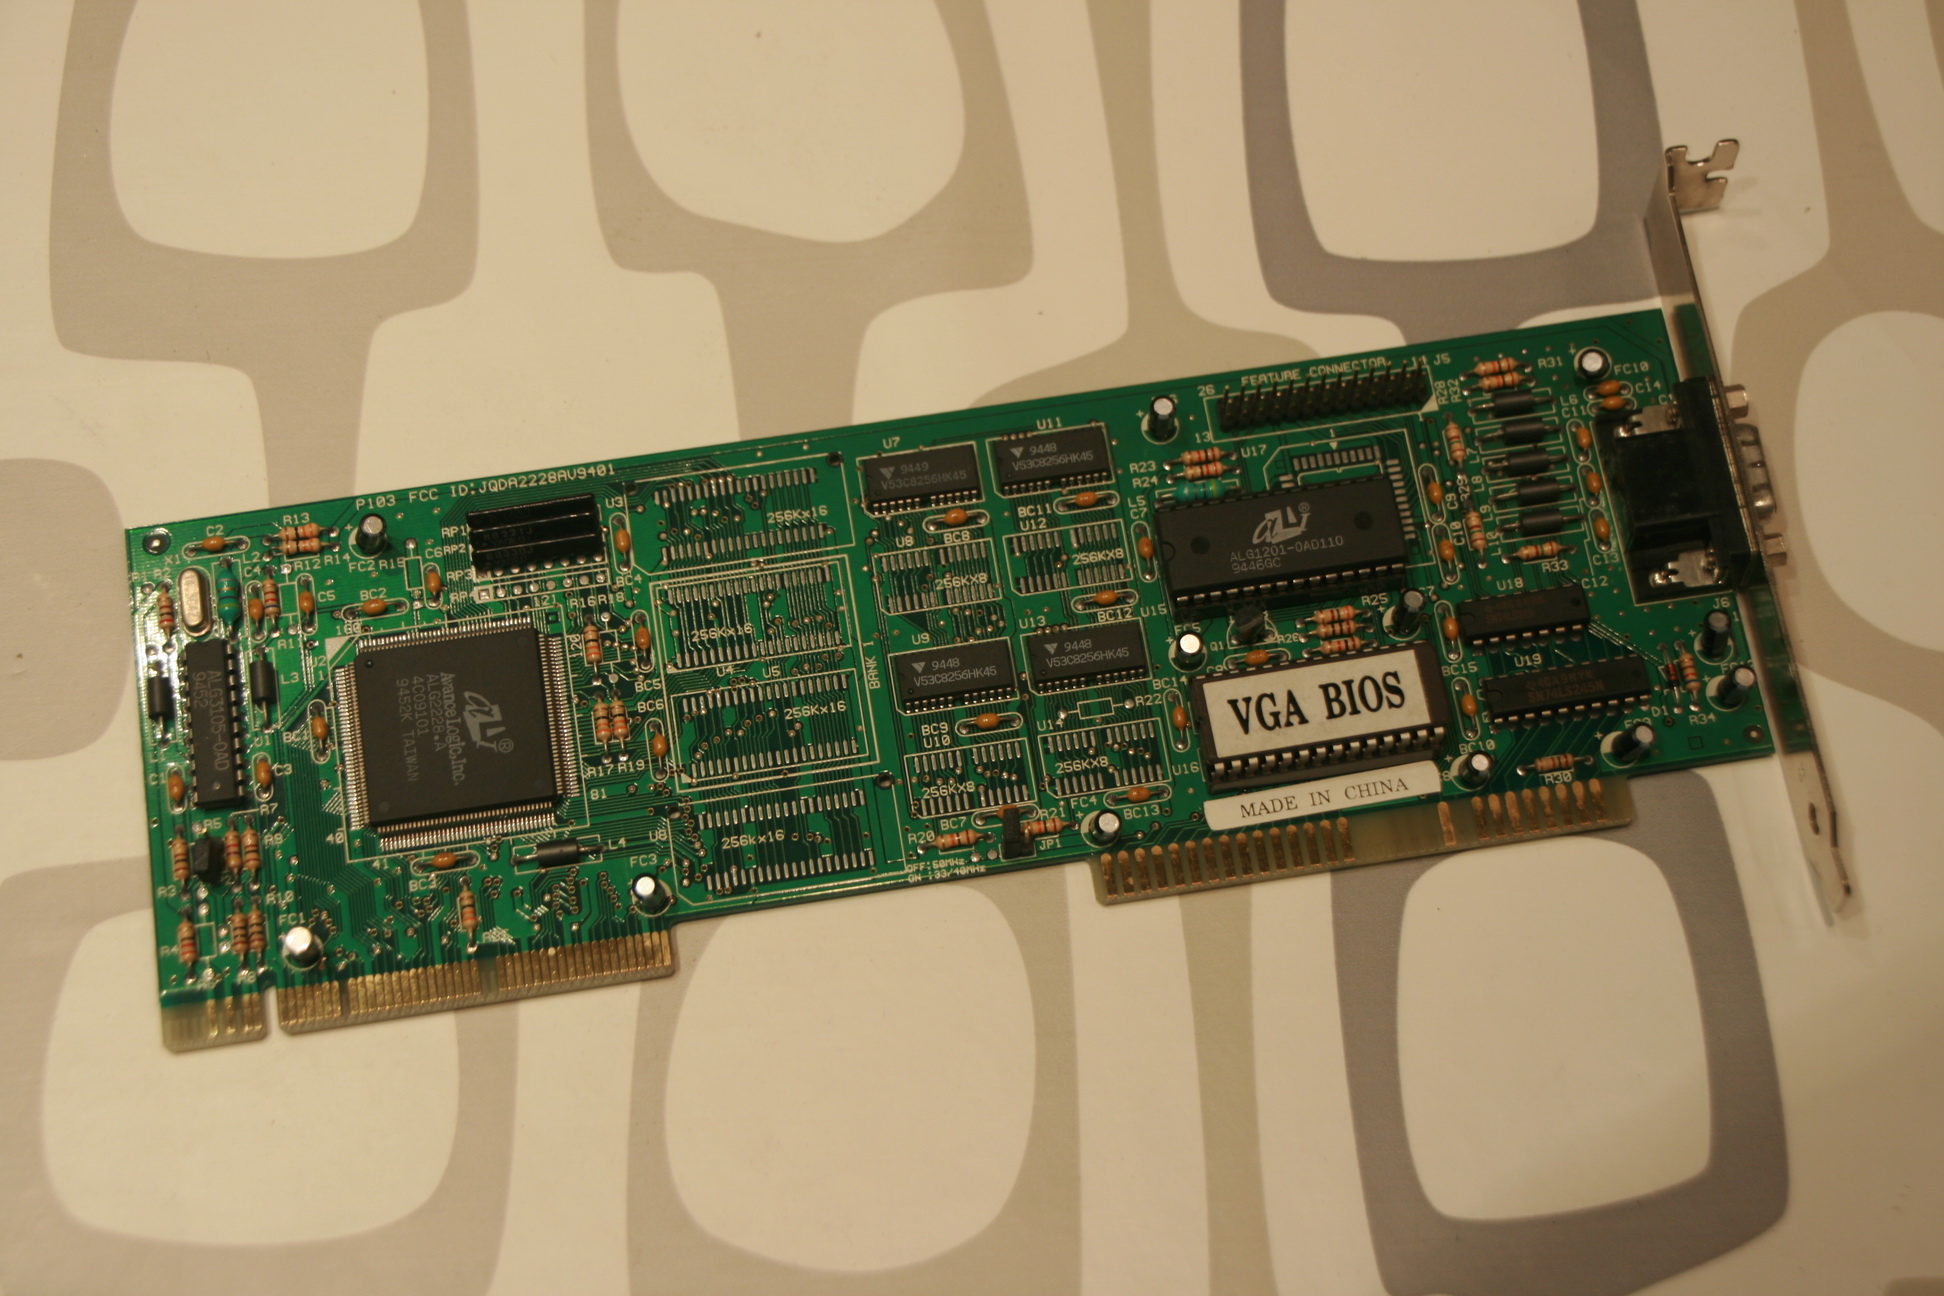
(10)The video card (VESA local bus) : it’s an Avance Logic (ALG2228.A) (http://vgamuseum.ru/gpu/avance-logic/avance-logic-alg2228)
(11)Soundcard 1 : a Gravis Ultrasound Classic (V3.73) : a soundcard equipped with wave table synthesis and able to emulate General Midi & a Roland MT-32.
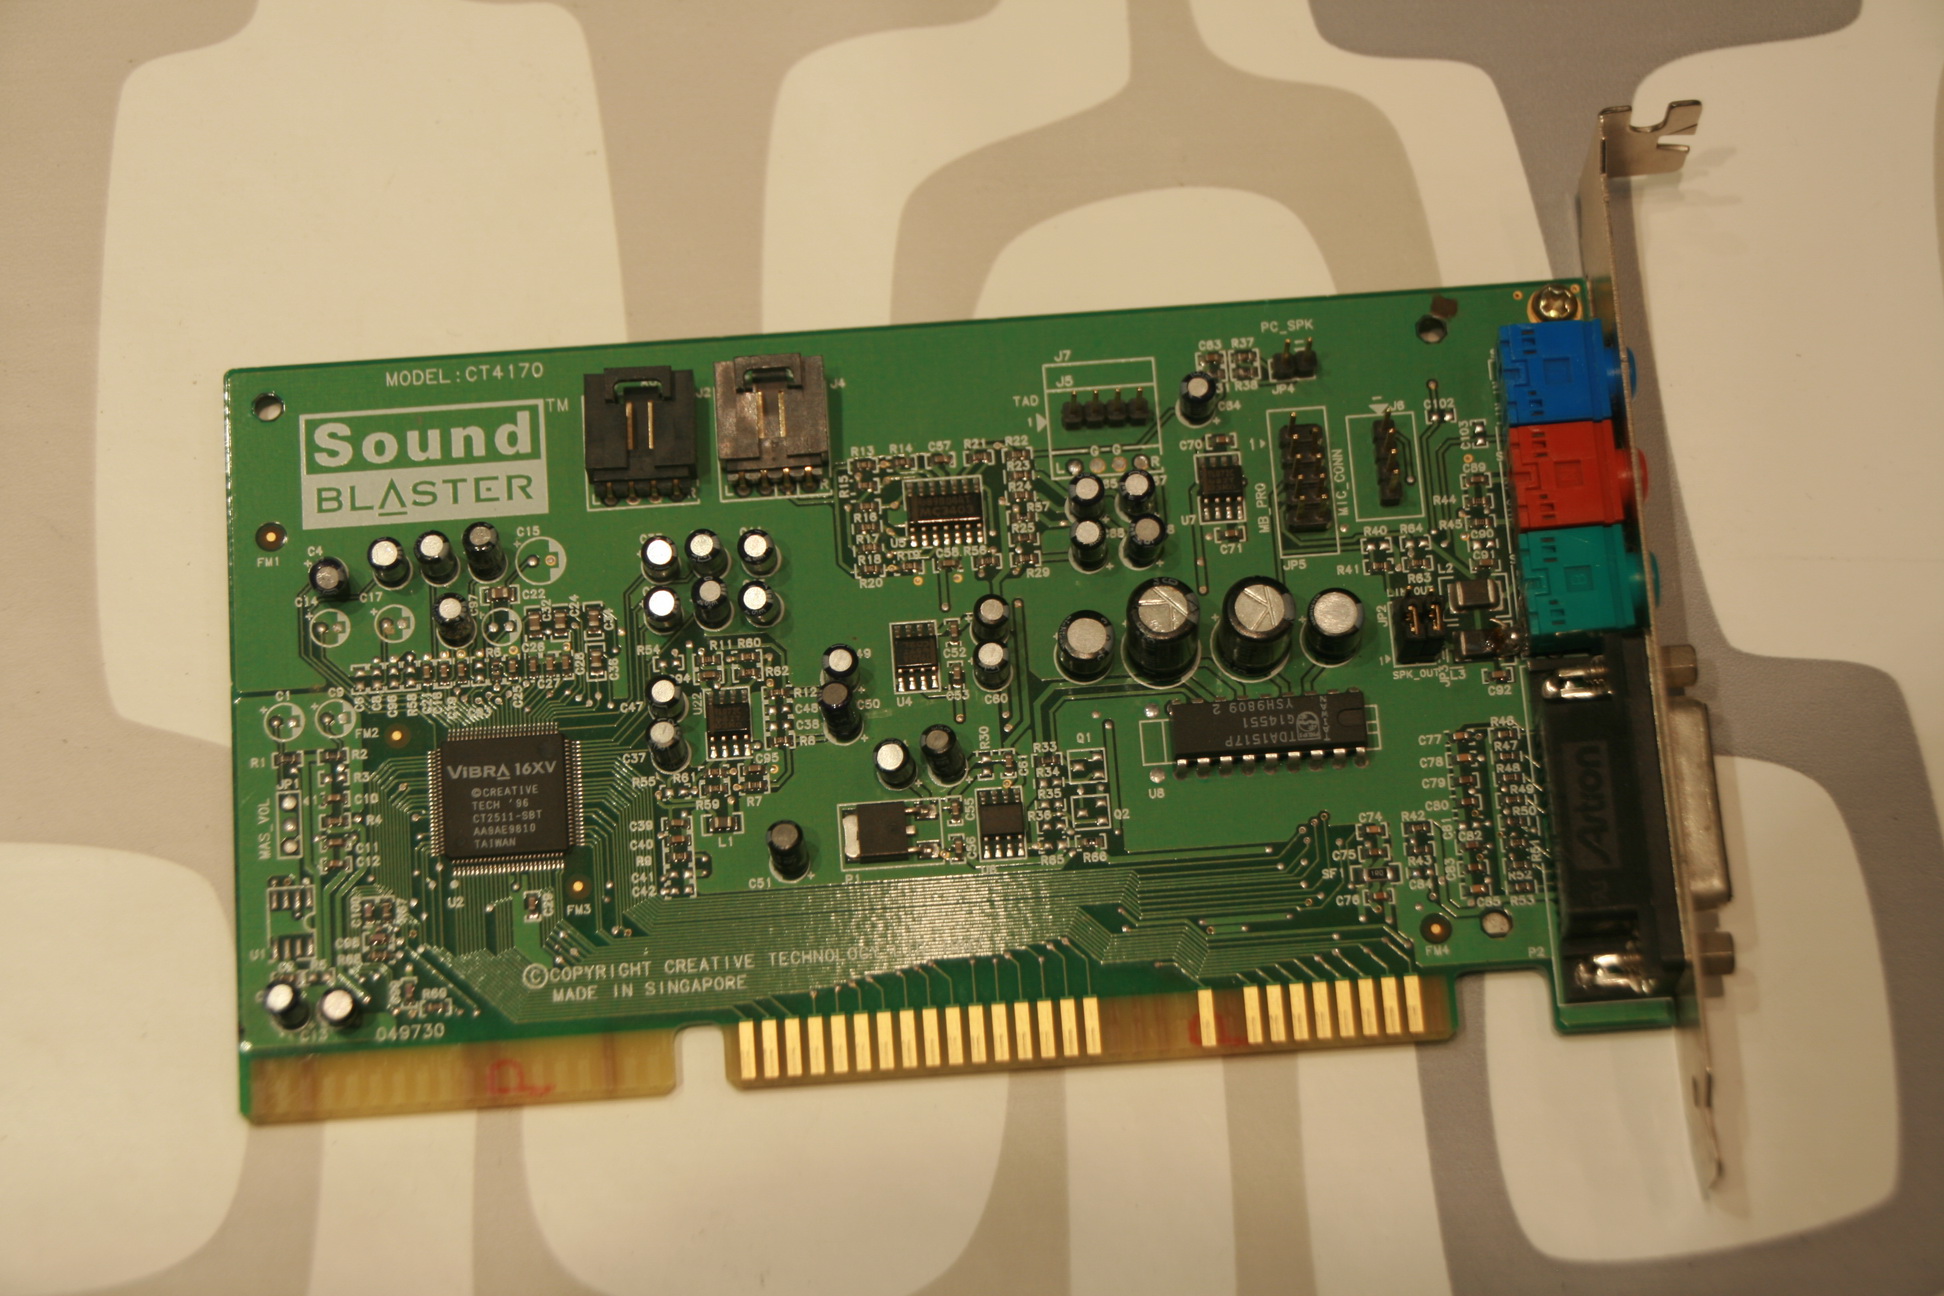
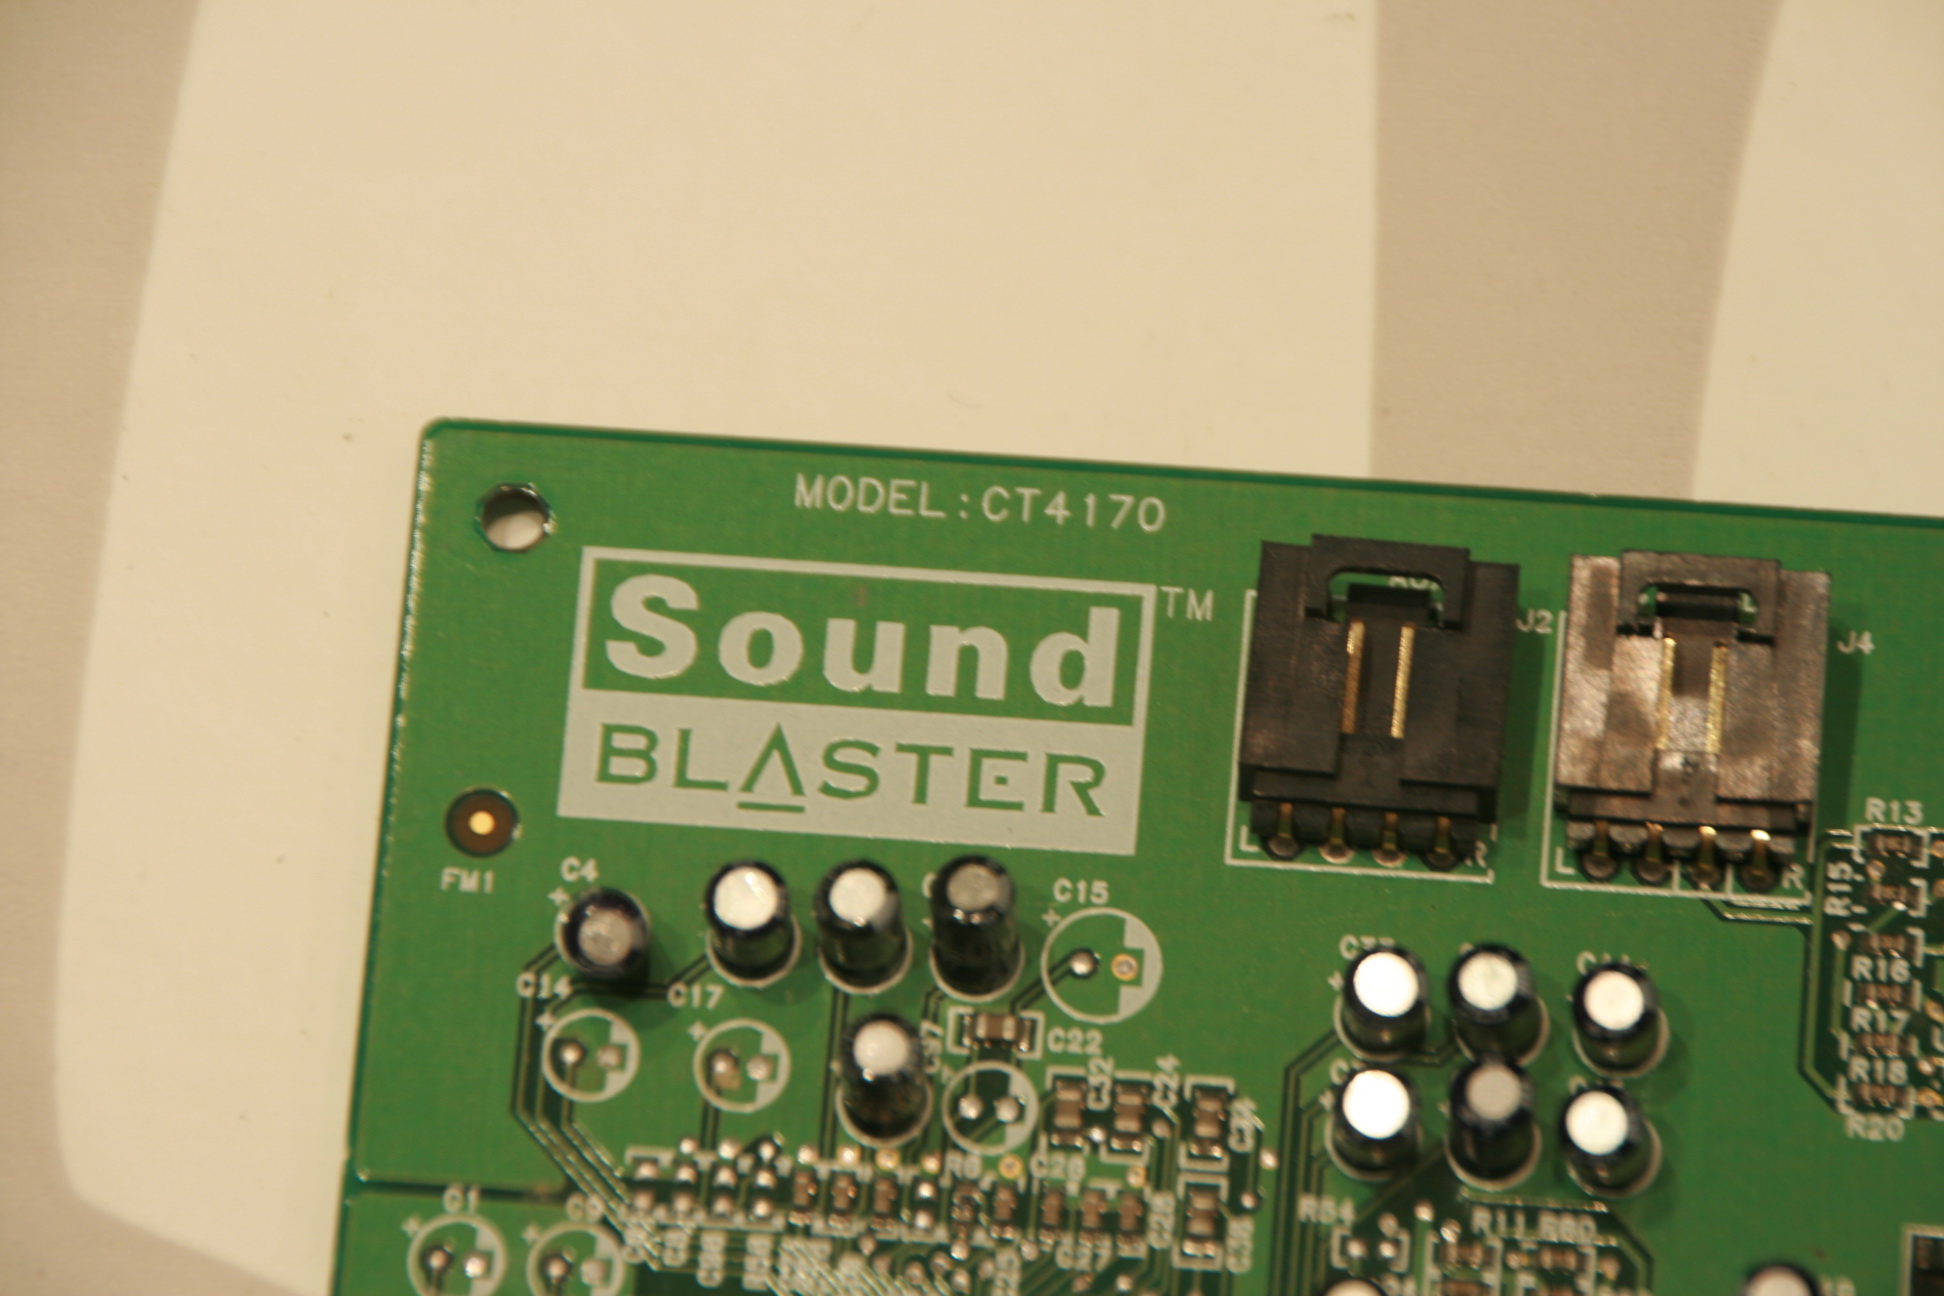
(12)Soundcard 2 : a Soundblaster 16bit (model CT 4170) : this card is in here to have full support for Soundblaster digitized sound.
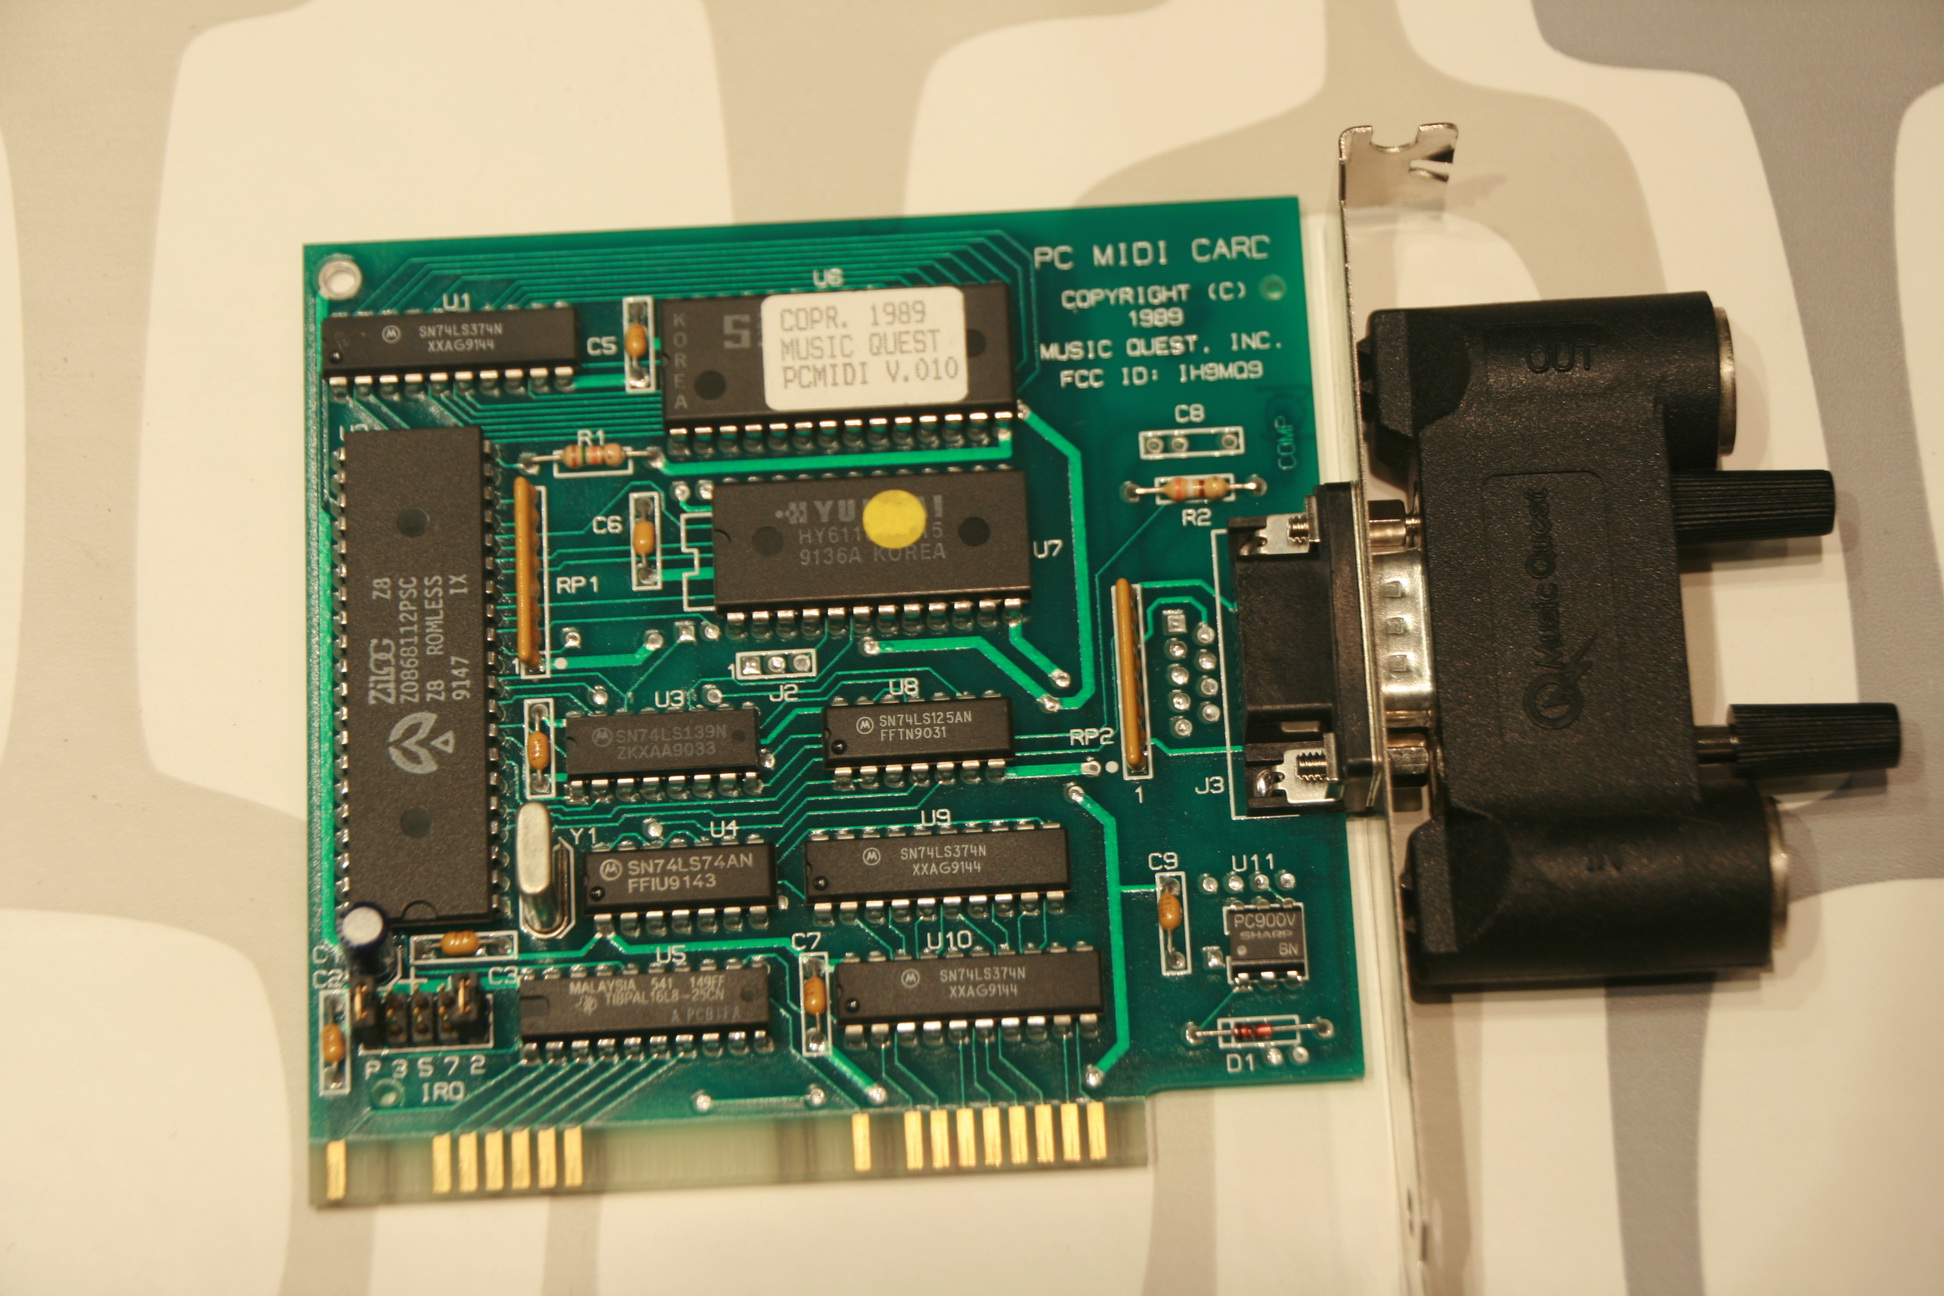
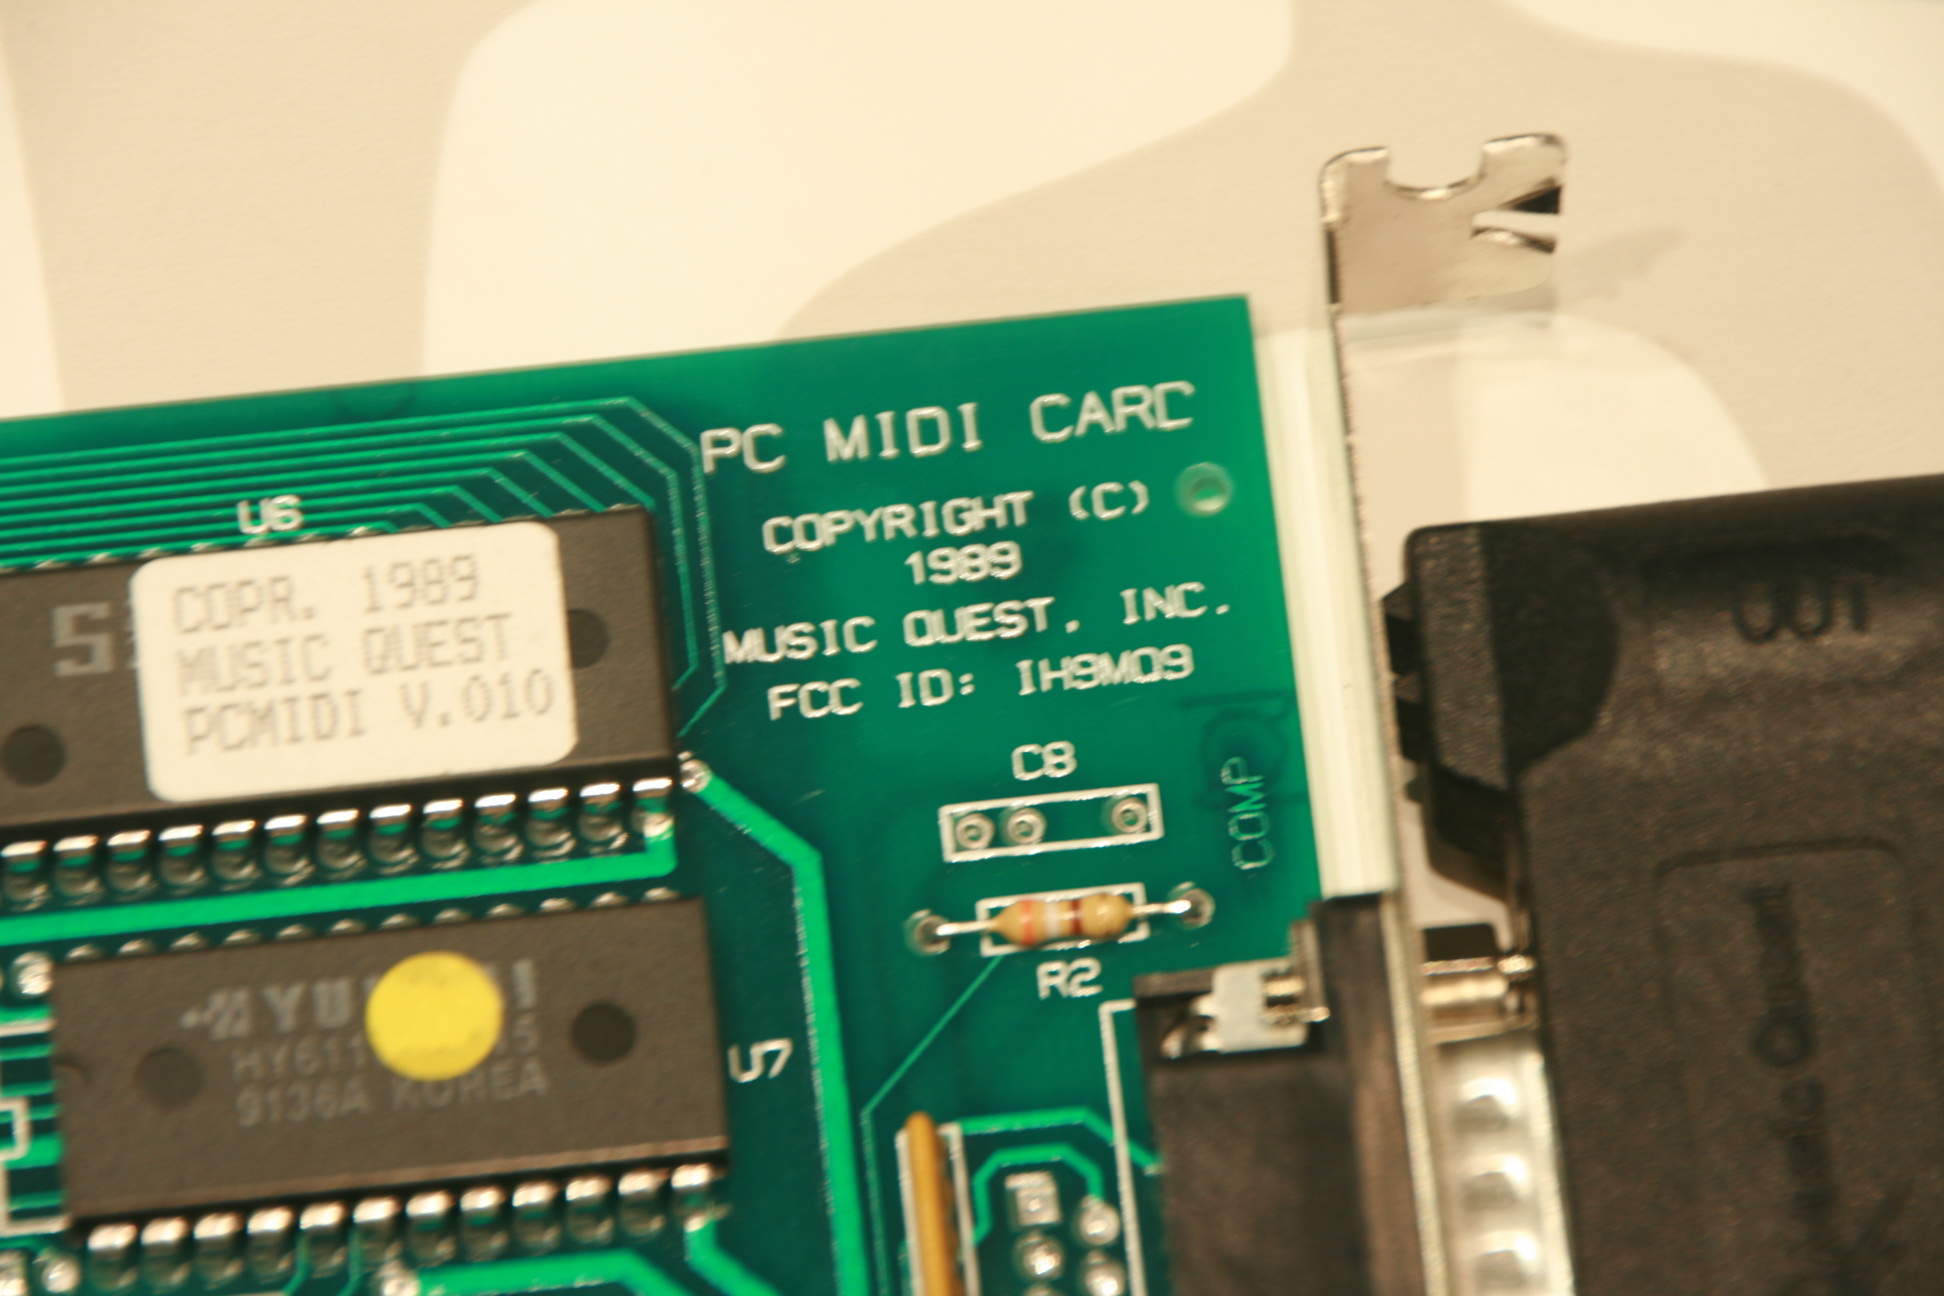
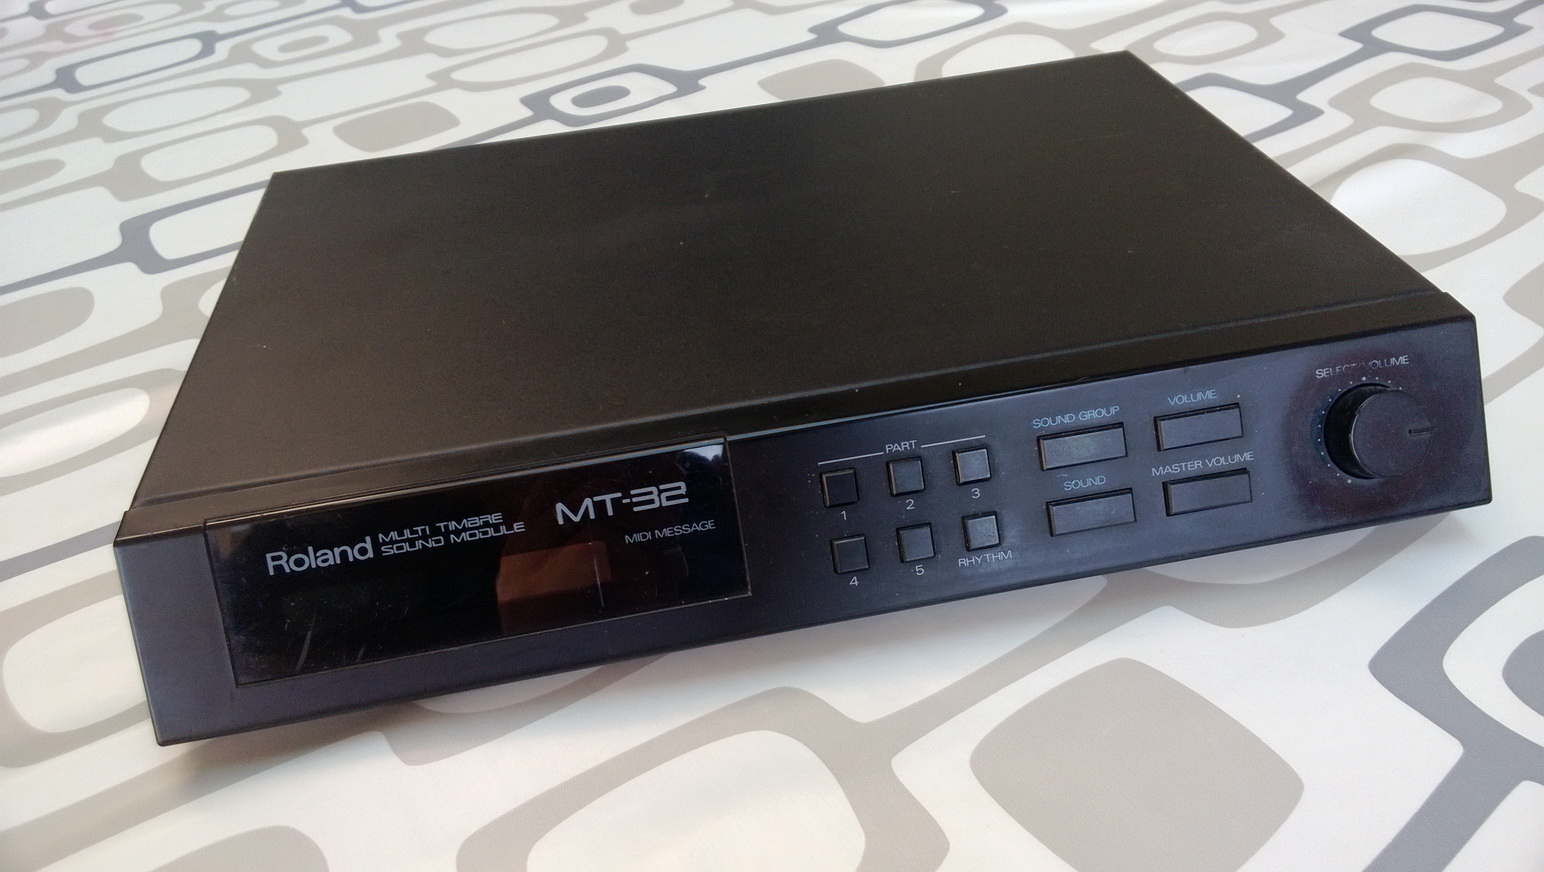
(13)A PC Midi card (Music Quest) : a card needed to drive my external sound modules (Roland MT-32 & Roland SC-55). This little 8-bit card from 1989 was a hard-to-find card, which supports MIDI intelligent mode that sends MIDI messages to the external modules, which then are routed back through the input channel of a soundcard.
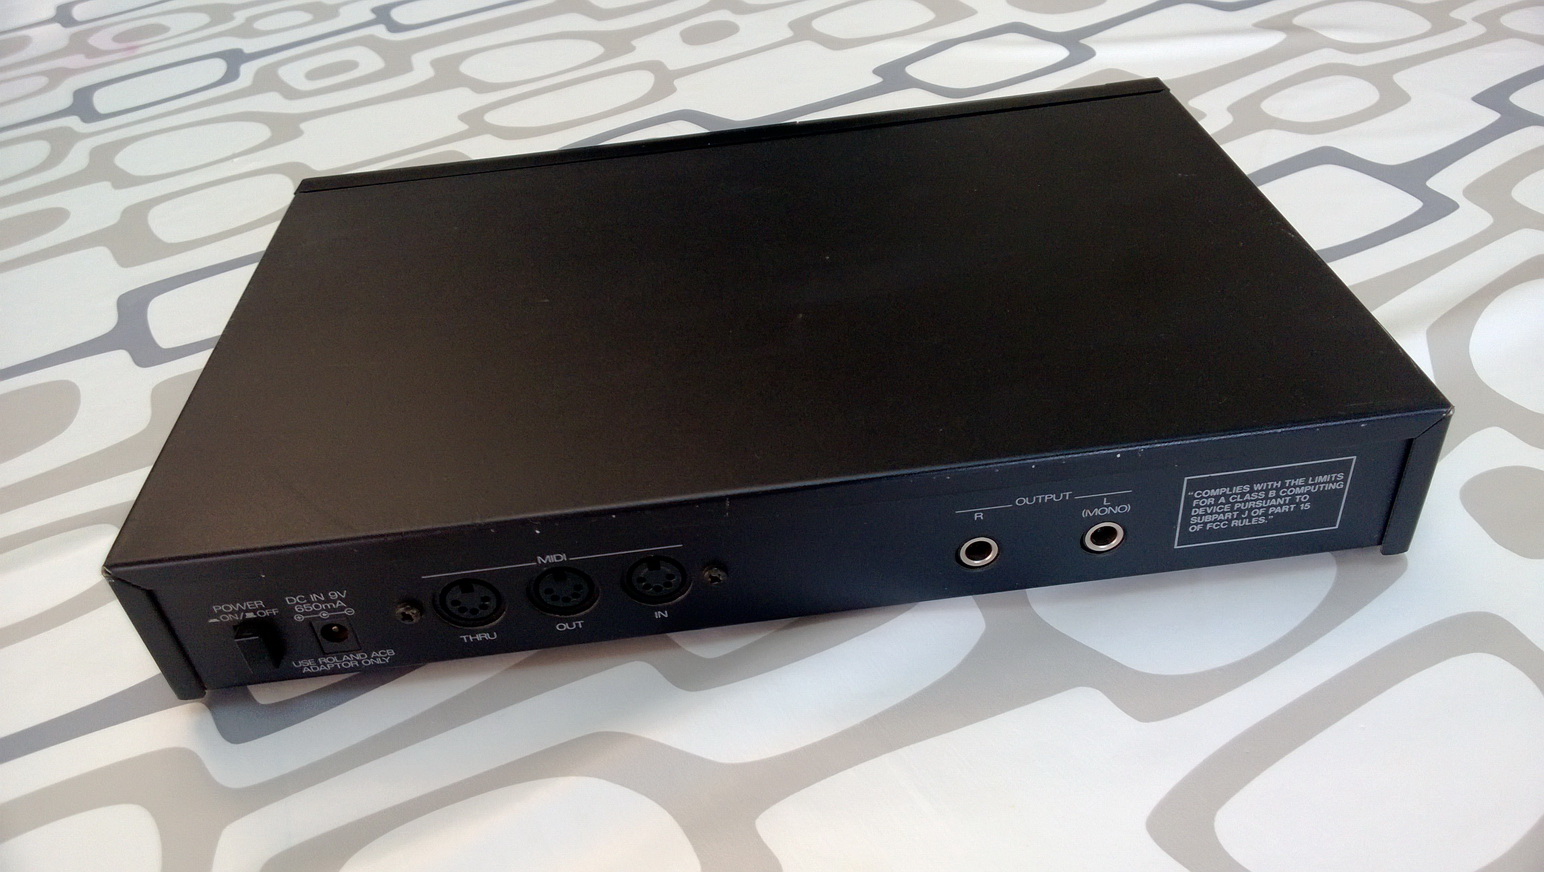
The Roland MT-32 classic :
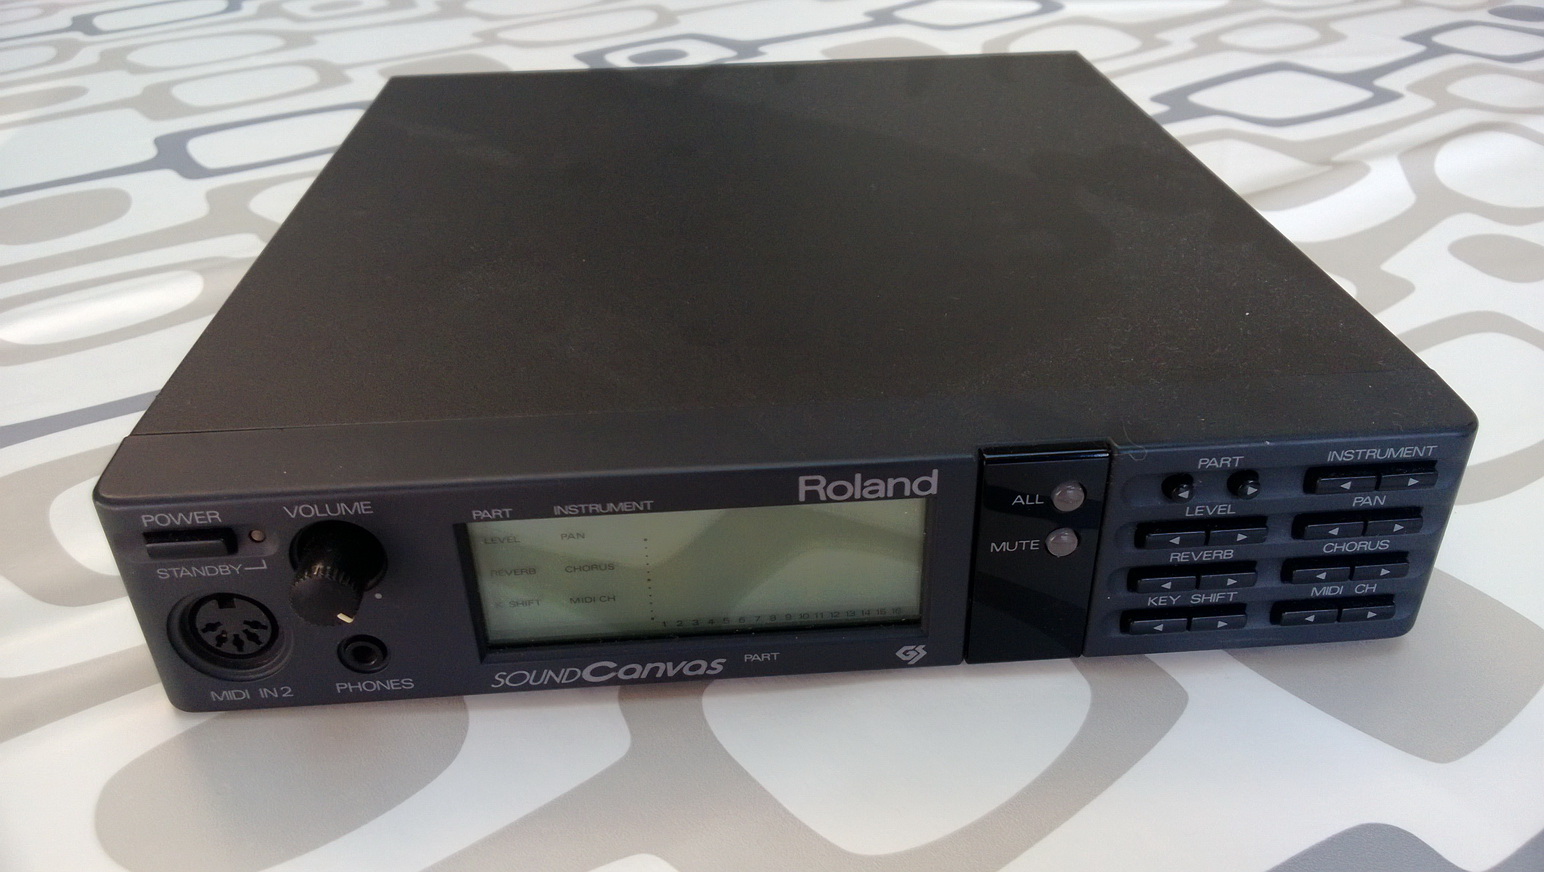
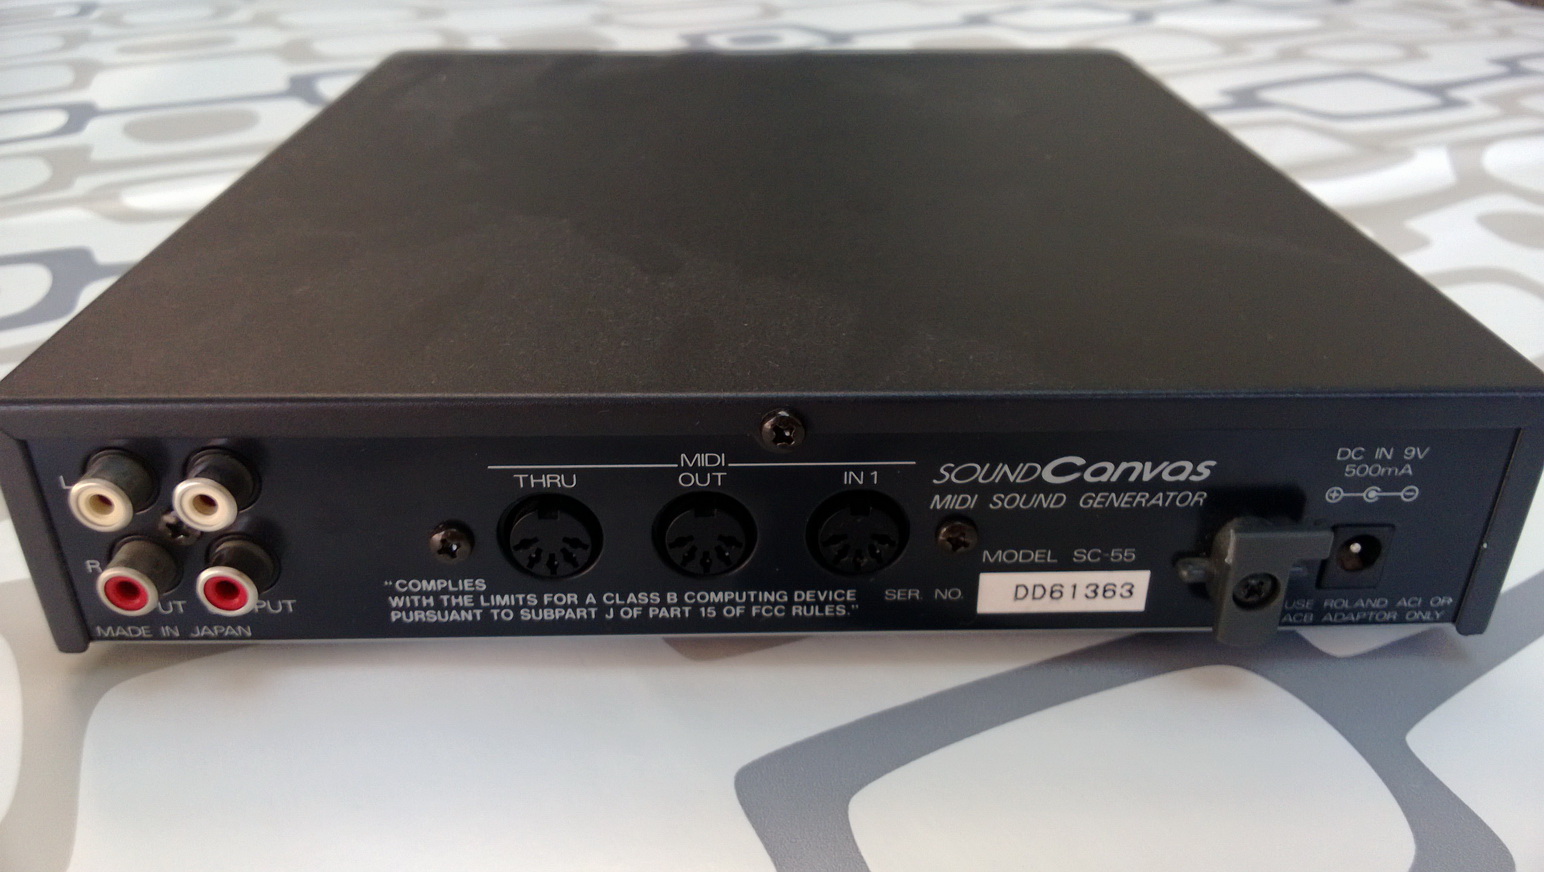
The Roland SC-55 :
This post is just an introduction about one of my retro gaming rigs. I hope you enjoyed reading this article as much as I have written it for you 😉
Come back for future projects, tests, demos, … that I will conduct with this beautiful piece of technology.
– Vulturius (“To the bare metal baby !”)
